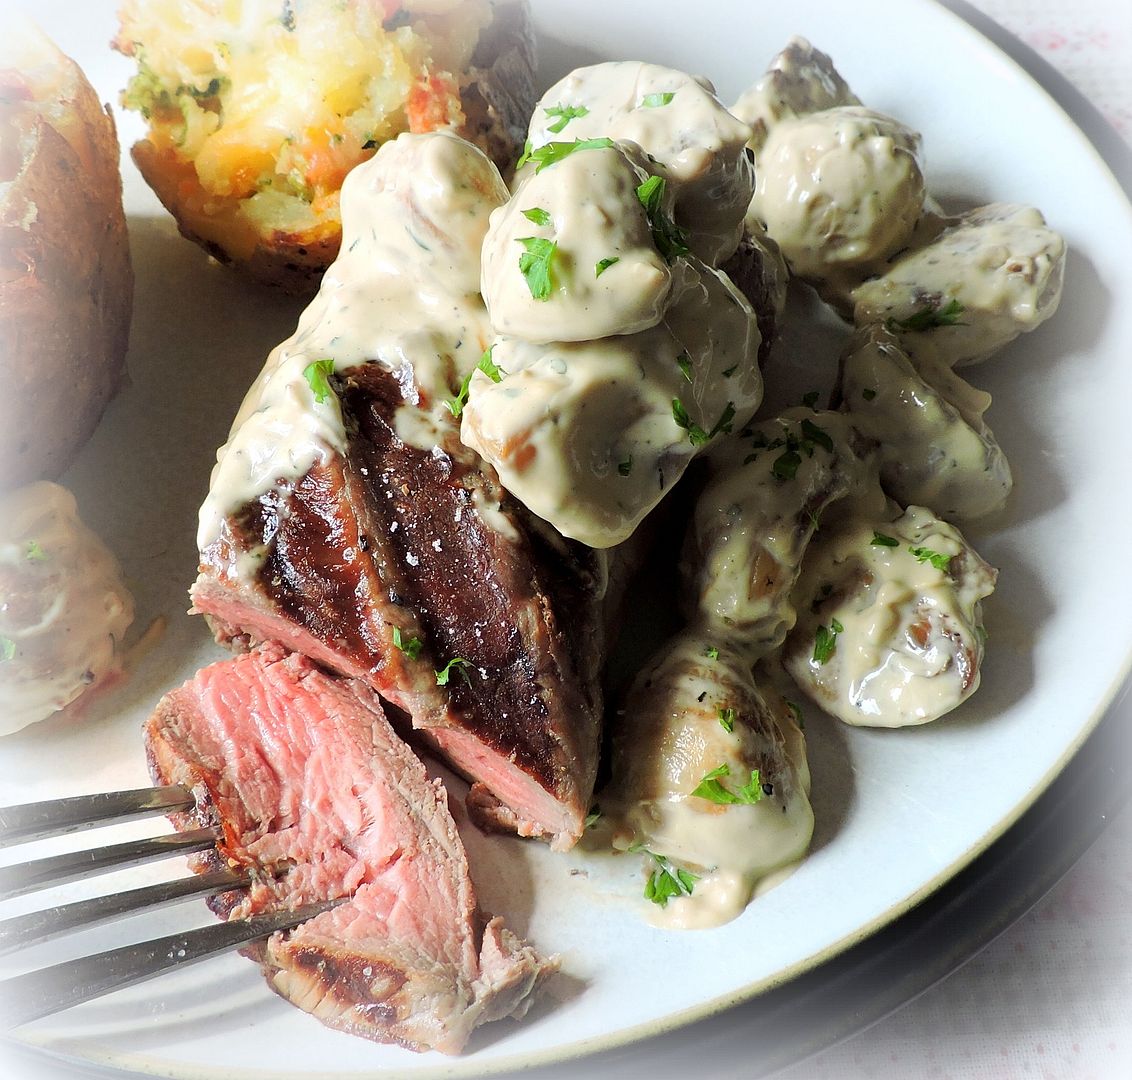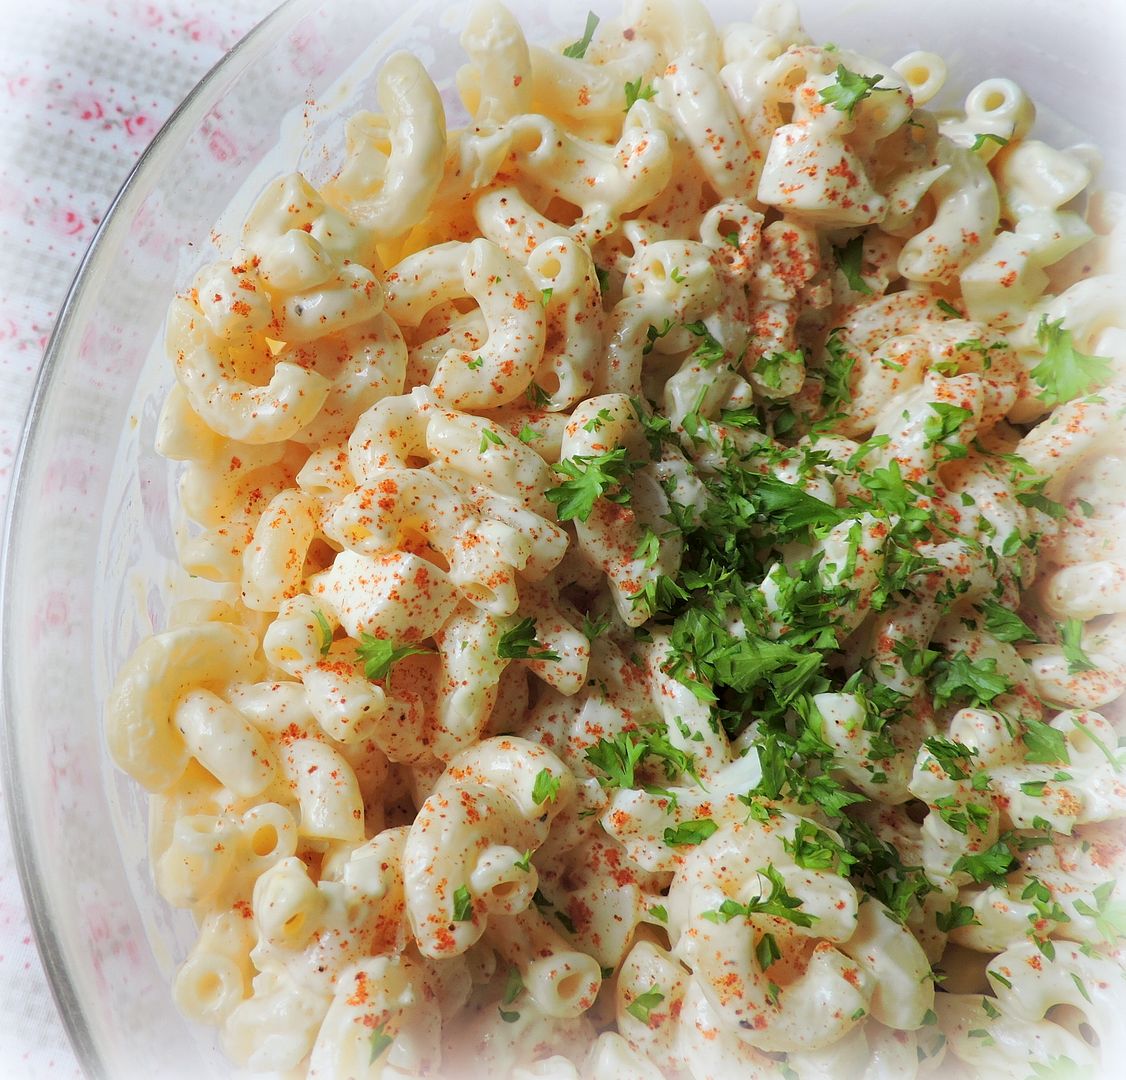
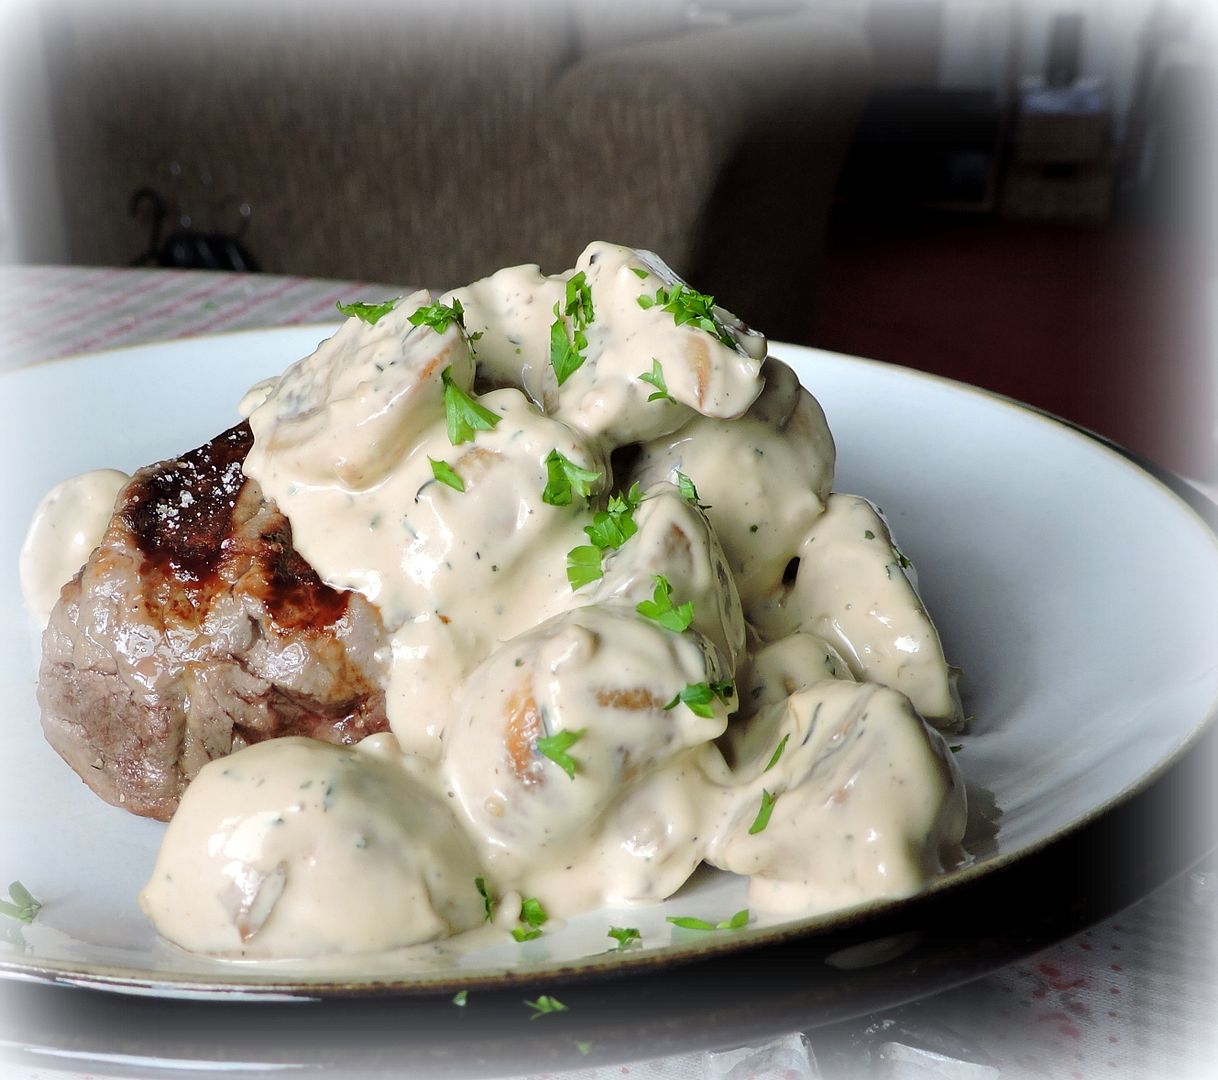
One thing we really enjoy eating in the summer months are great grilled steaks. There is nothing nicer than a steak cooked properly and served up with something scrumptious on the side. Today I cooked our favourite Creamy Garlic Mushrooms to have with some simple grilled steaks that I had grilled on our electric grill. They went down a real treat!

This is a side dish that is so very simple to make and yet tastes like you have slaved all day over a hot stove to create . . . well maybe not a whole day, but at least slaved in part!
It's rich and indulgent without going over the top. I bet you even have all of the ingredients in your refrigerator right now to make it.
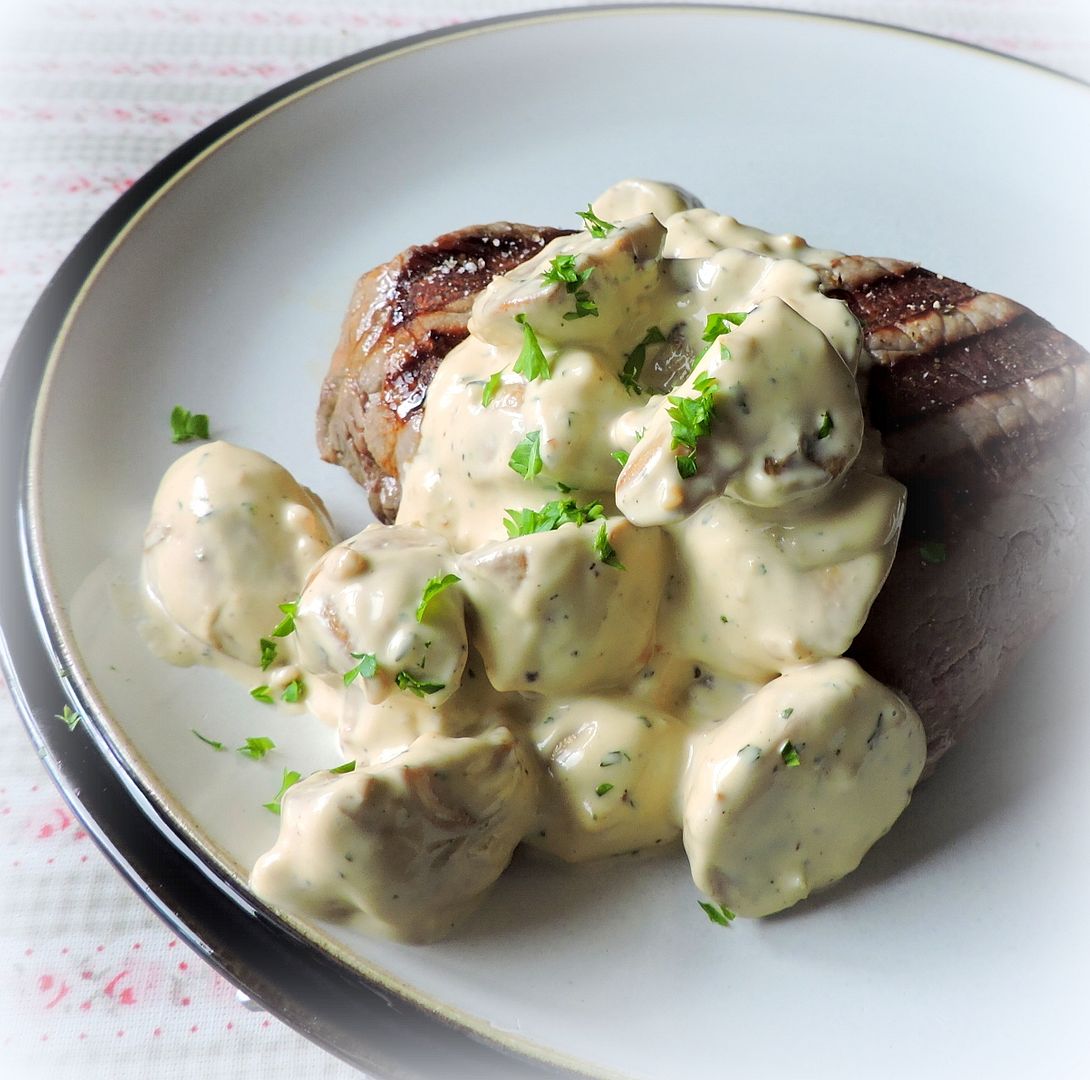
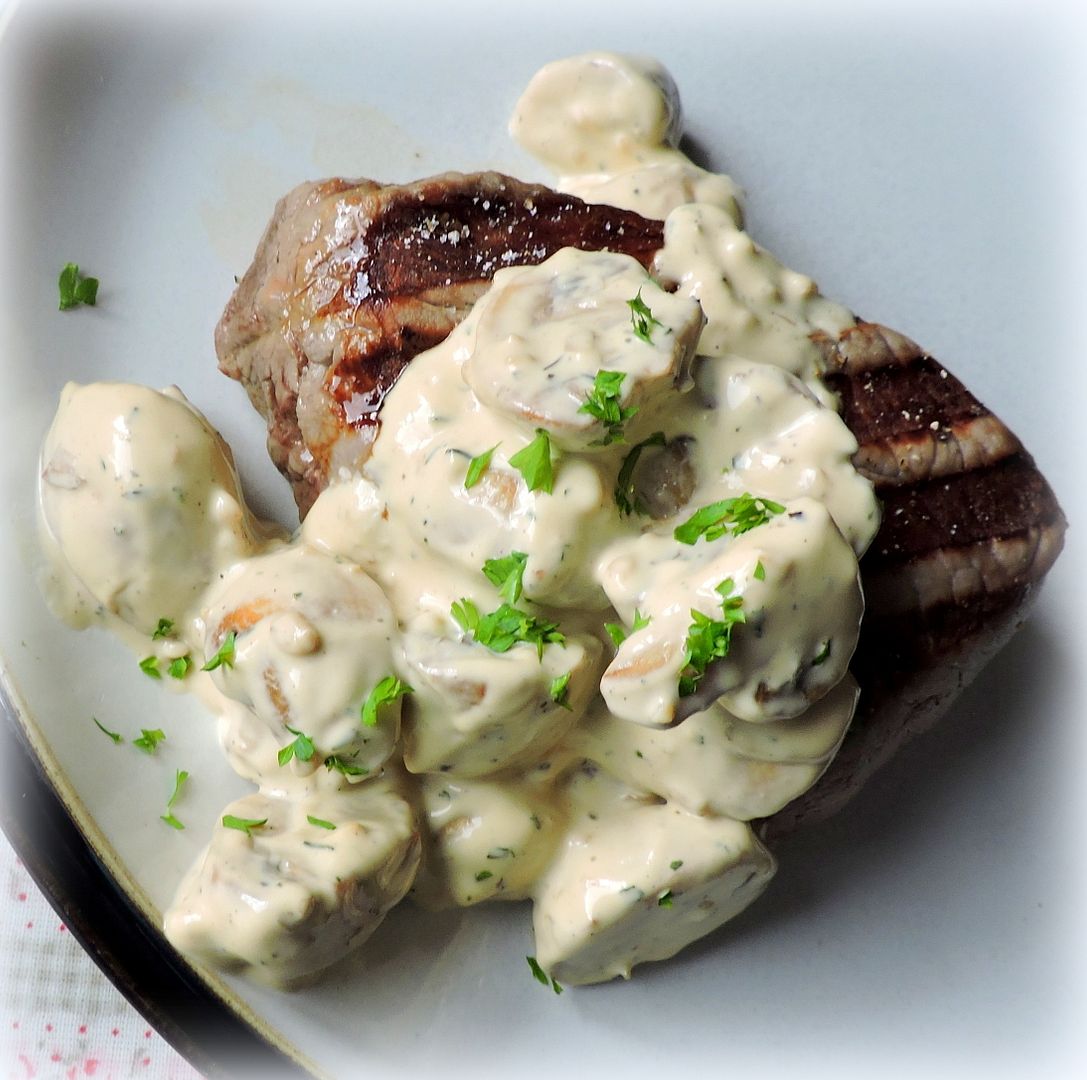
I have served them with steak, but they are equally at home with pork or chicken . . .
They're even delicious served simply spooned over hot and crisp slices of buttered toast for a quick and easy vegetarian entree.
Mmmm . . . mmmm . . . mmmm . . . they be
some good. Portions are given for two, but they can easily be multiplied to feed more.
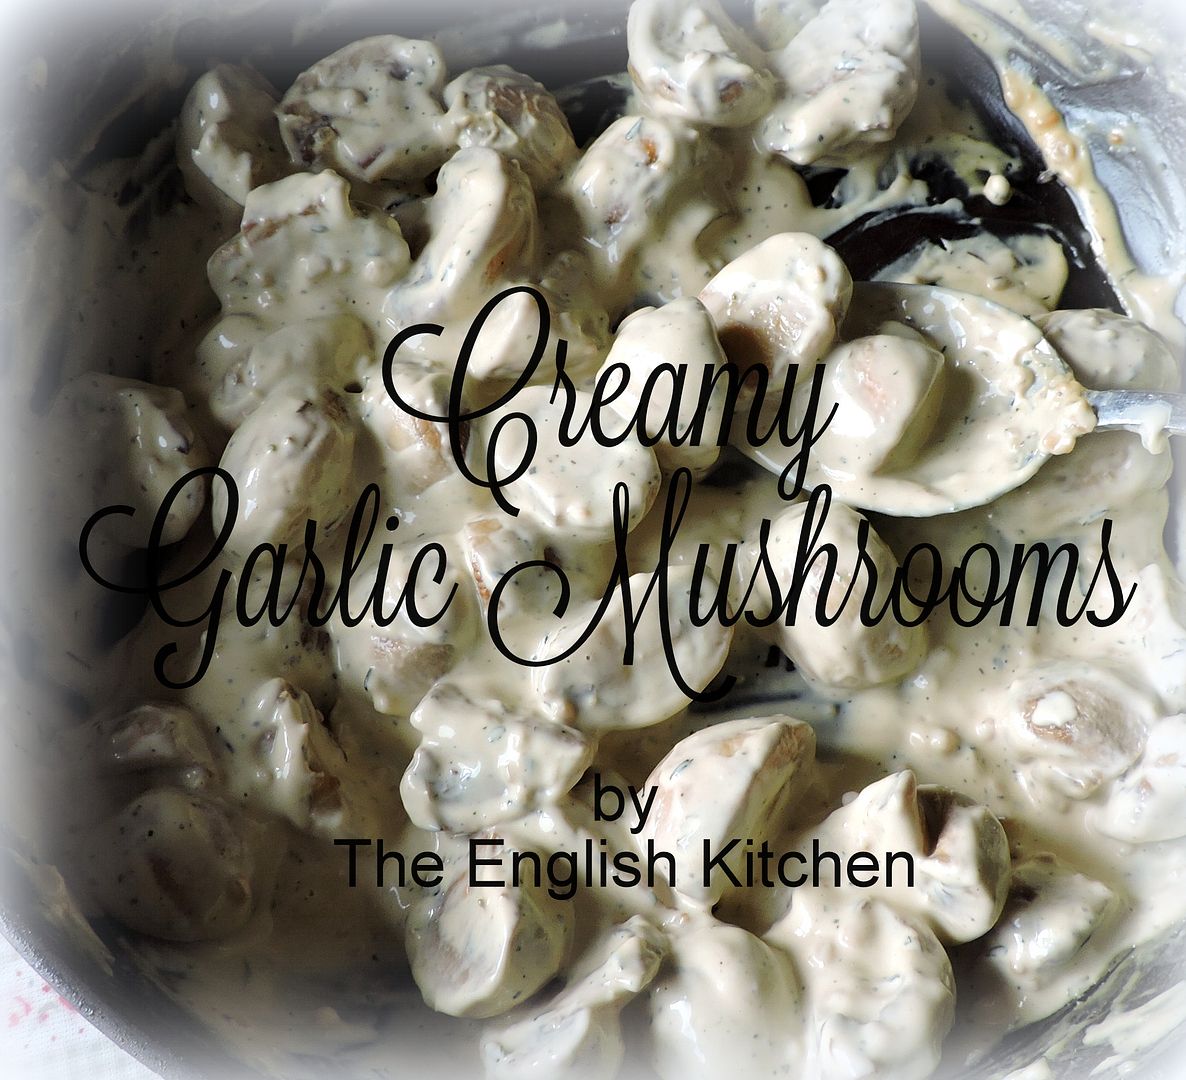
*Creamy Garlic Mushrooms*
Serves 2
These delicious, tender and flavourful mushrooms are fabulous served with grilled meats or chicken. They're also pretty tasty served on crisp slices of buttered toast!
225g of button mushrooms (Halve if large) (1/2 pound)
2 cloves of garlic, peeled and minced
2 heaped dessertspoons of Cream cheese (about 4 TBS)
1 TBS Dijon mustard
4 TBS double cream
1/2 tsp dried thyme
1/2 tsp dried parsley flakes
fine sea salt and freshly ground black pepper to taste
1 tsp olive oil
Heat a large skillet and add the oil. Add the mushrooms. Cook, stirring occasionally, over medium heat, until the mushrooms are golden and have released a little of their juices. Add the garlic. Cook and stir until quite fragrant without browning. Turn the heat to low. Season with some salt and black pepper and add the herbs. Whisk in the double cream, cream cheese and mustard. Heat through and serve. (Don't boil or the cream cheese may split.)
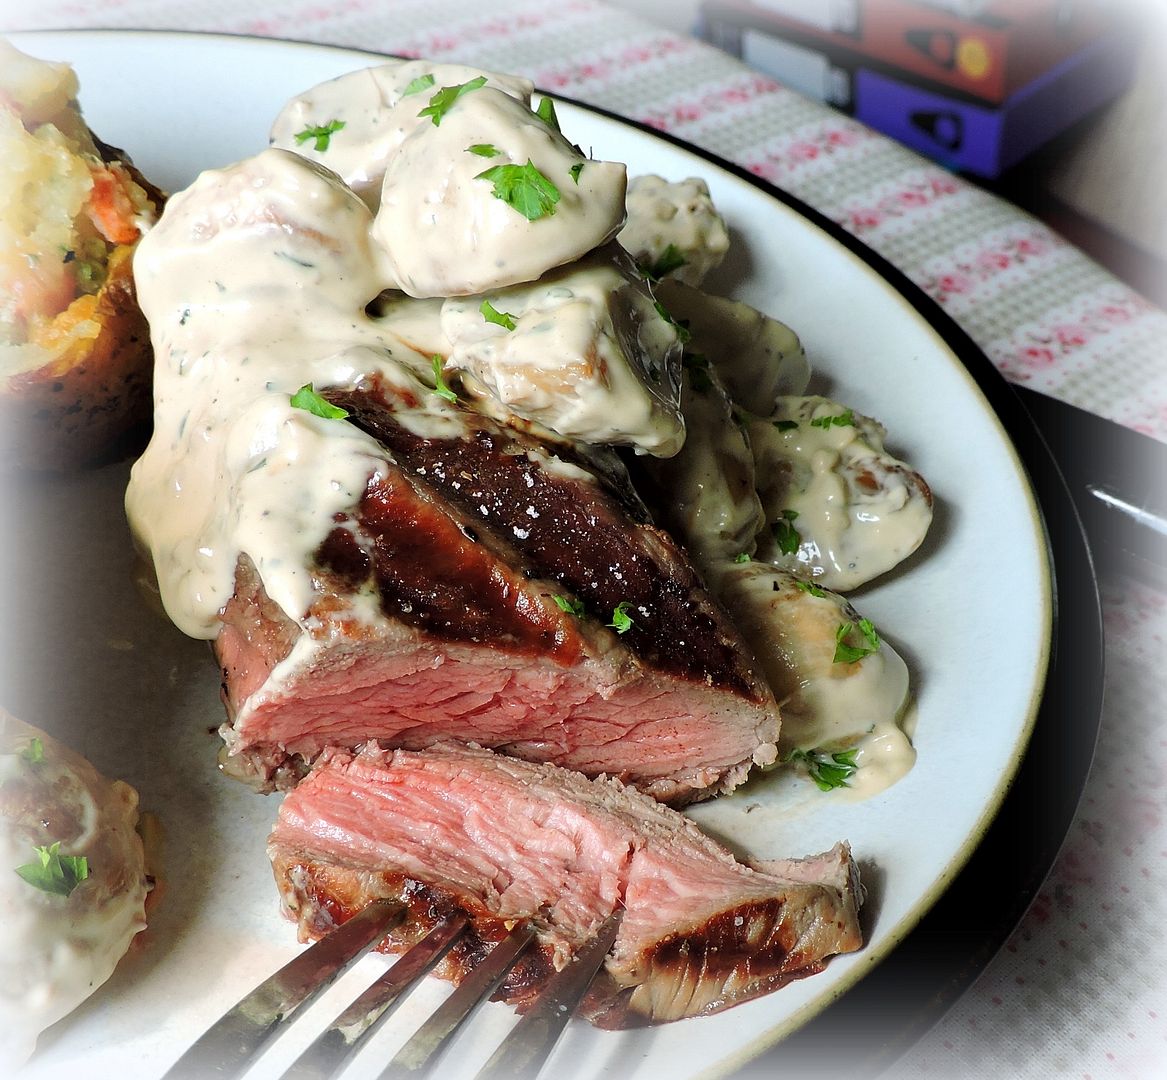
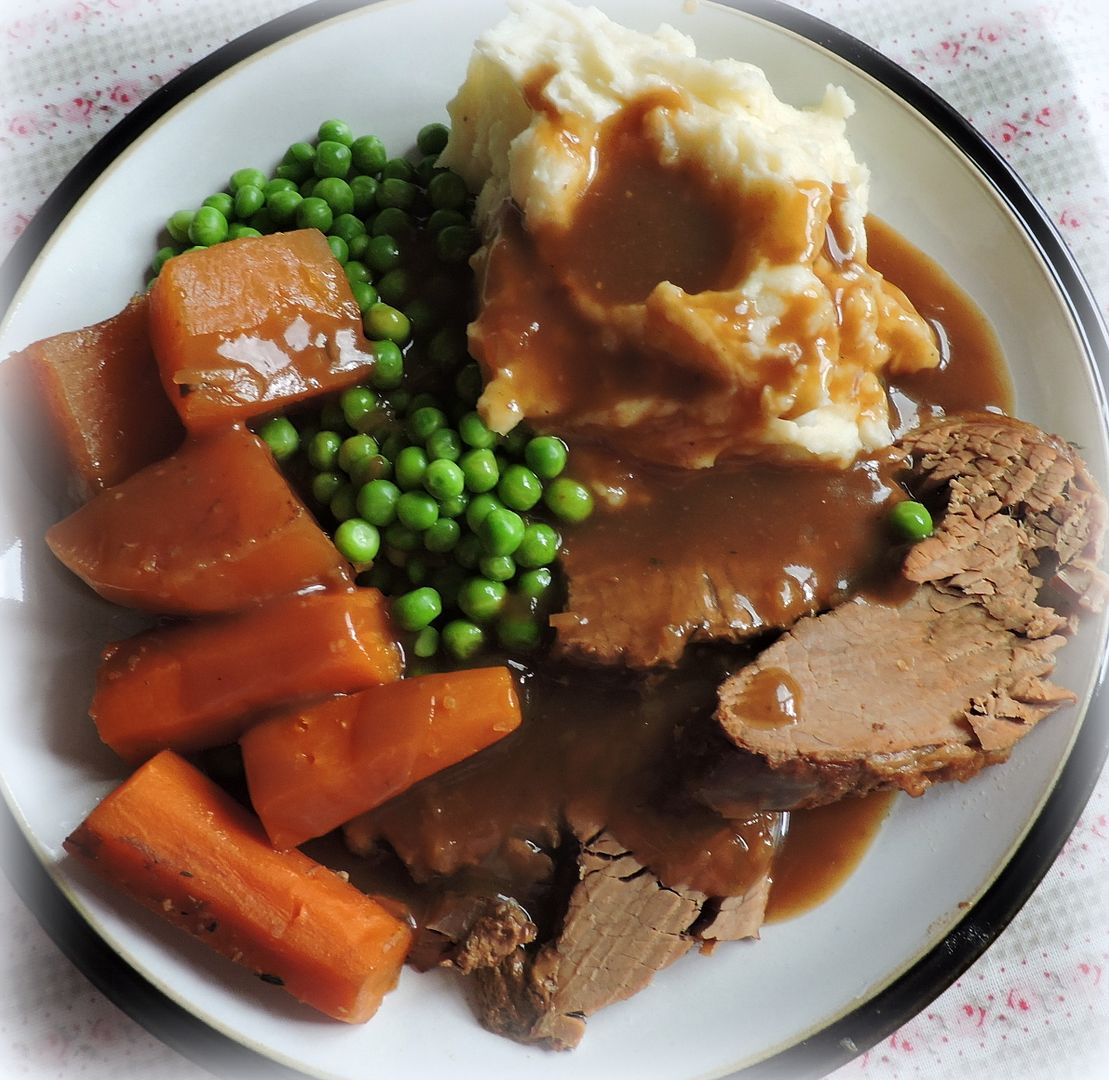
I know what you are thinking. That
IS one mighty delicious looking steak! The people at
Donald Russell recently asked me if I would like to try their
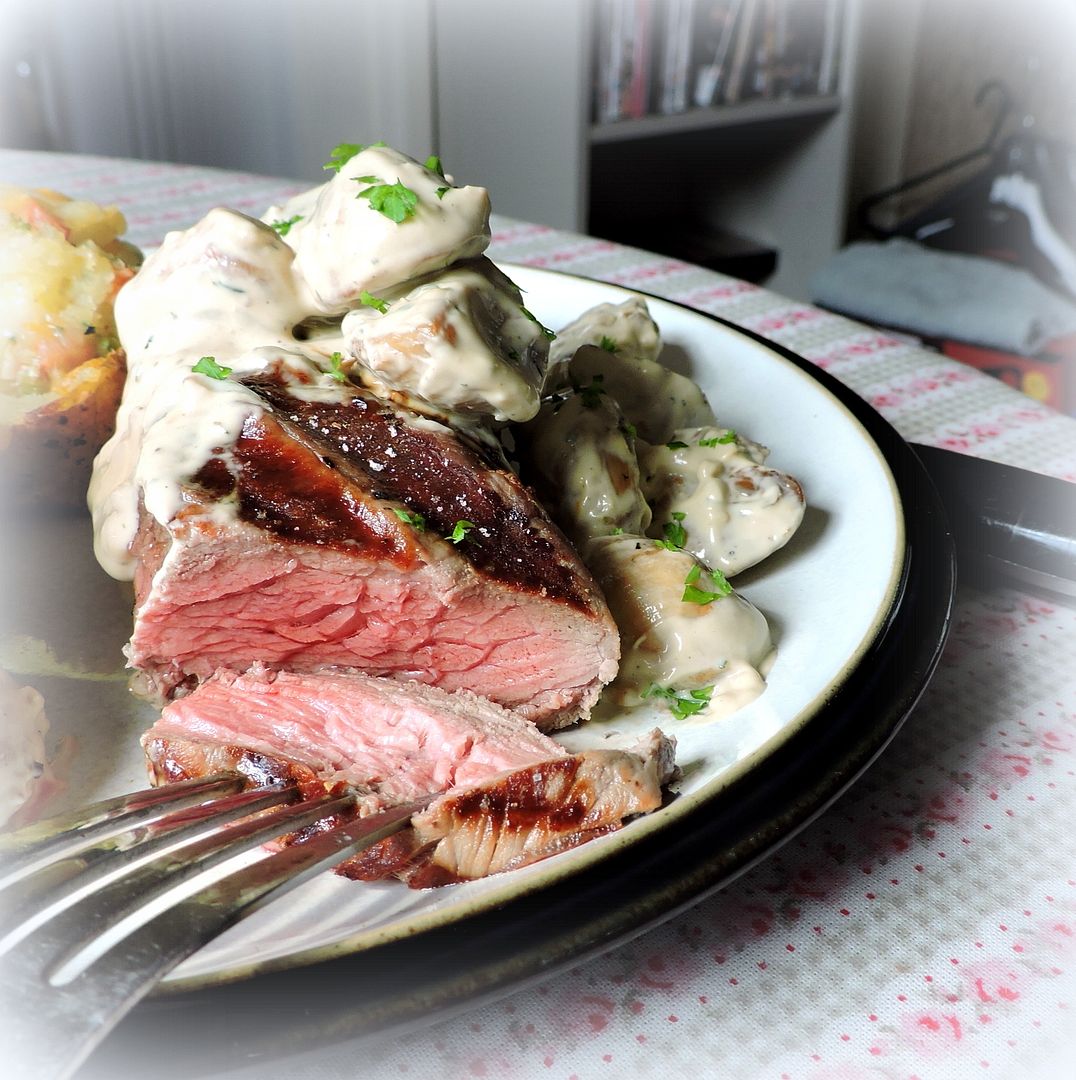
Pave Rump Steaks. They didn't have to ask me twice. I do so love a good steak.
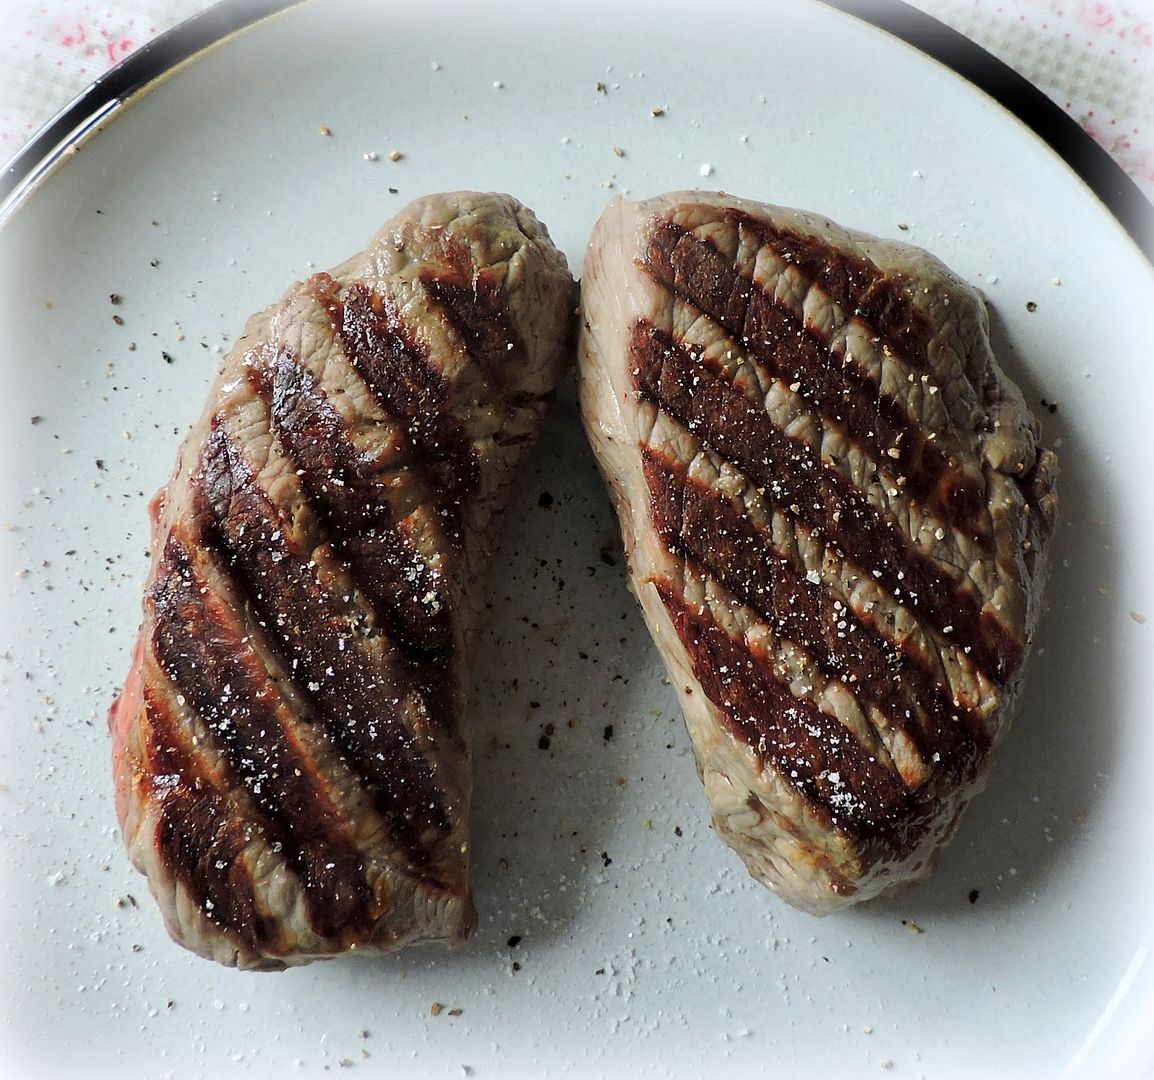
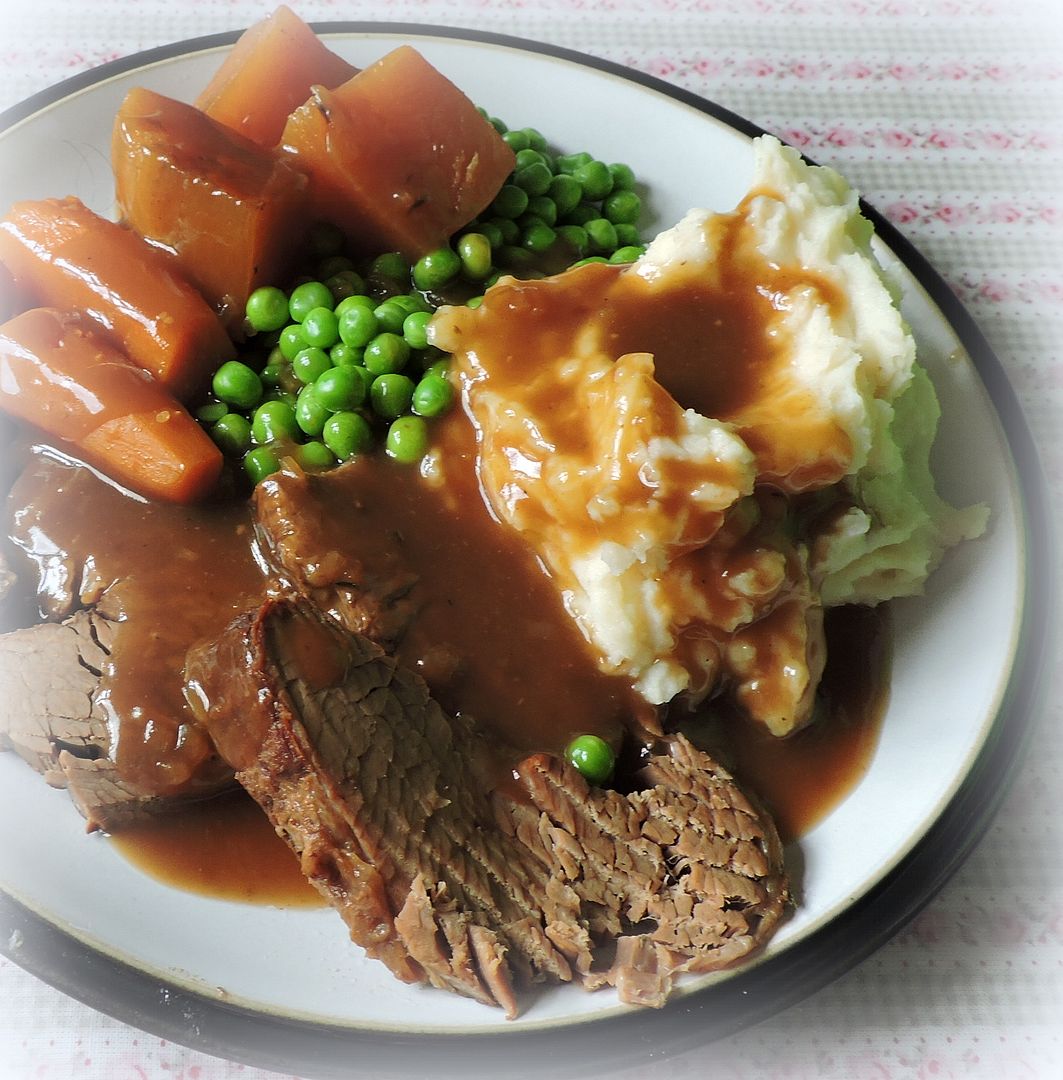
These continental cut Pave Rump steaks are cut to be firm and juicy. Naturally lean, this outdoor reared UK bred and grass fed beef is traditionally matured for a minimum of 35 days and is trimmed by hand from the centre of the rump muscle by their expert butchers. They do suggest that because these steaks are very lean you take care not to overcook them.
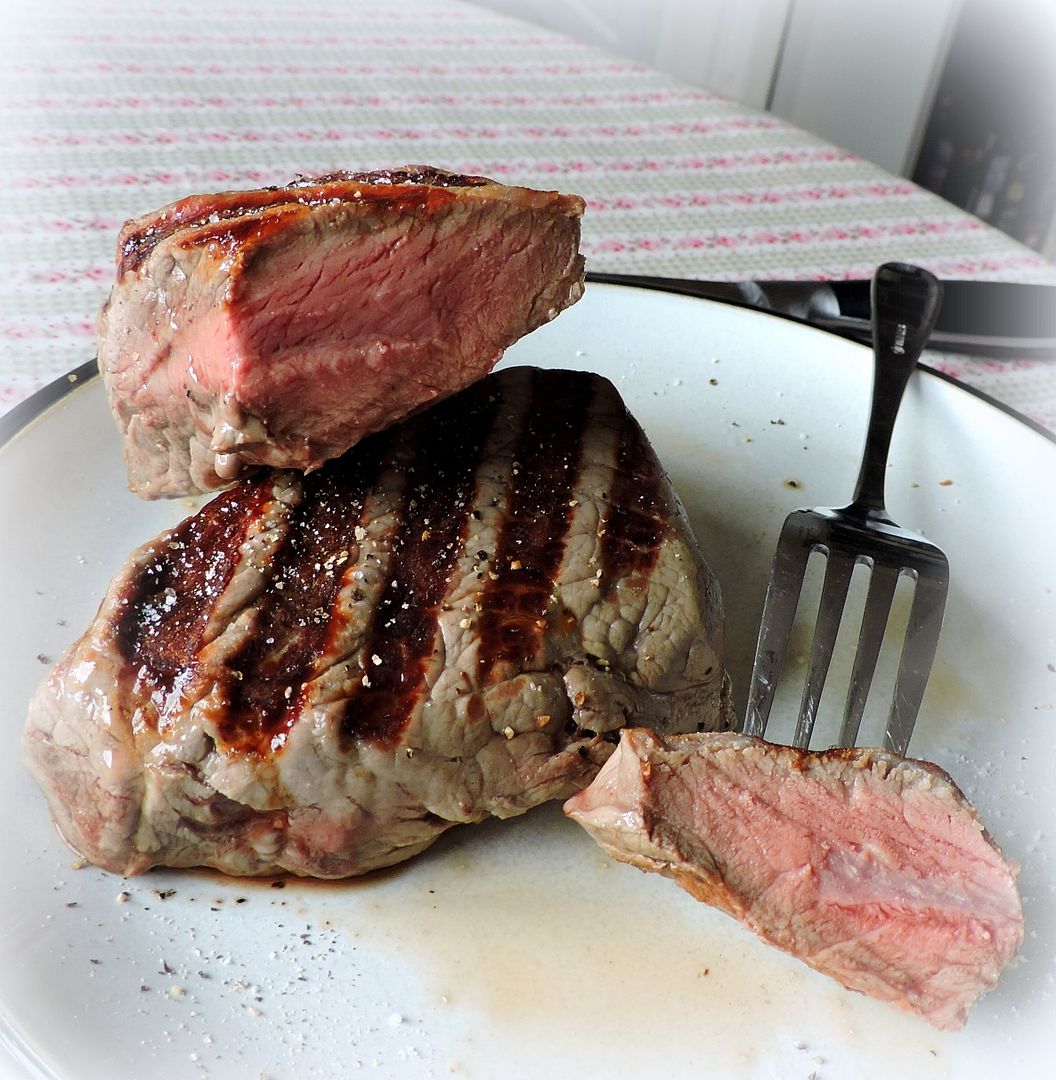
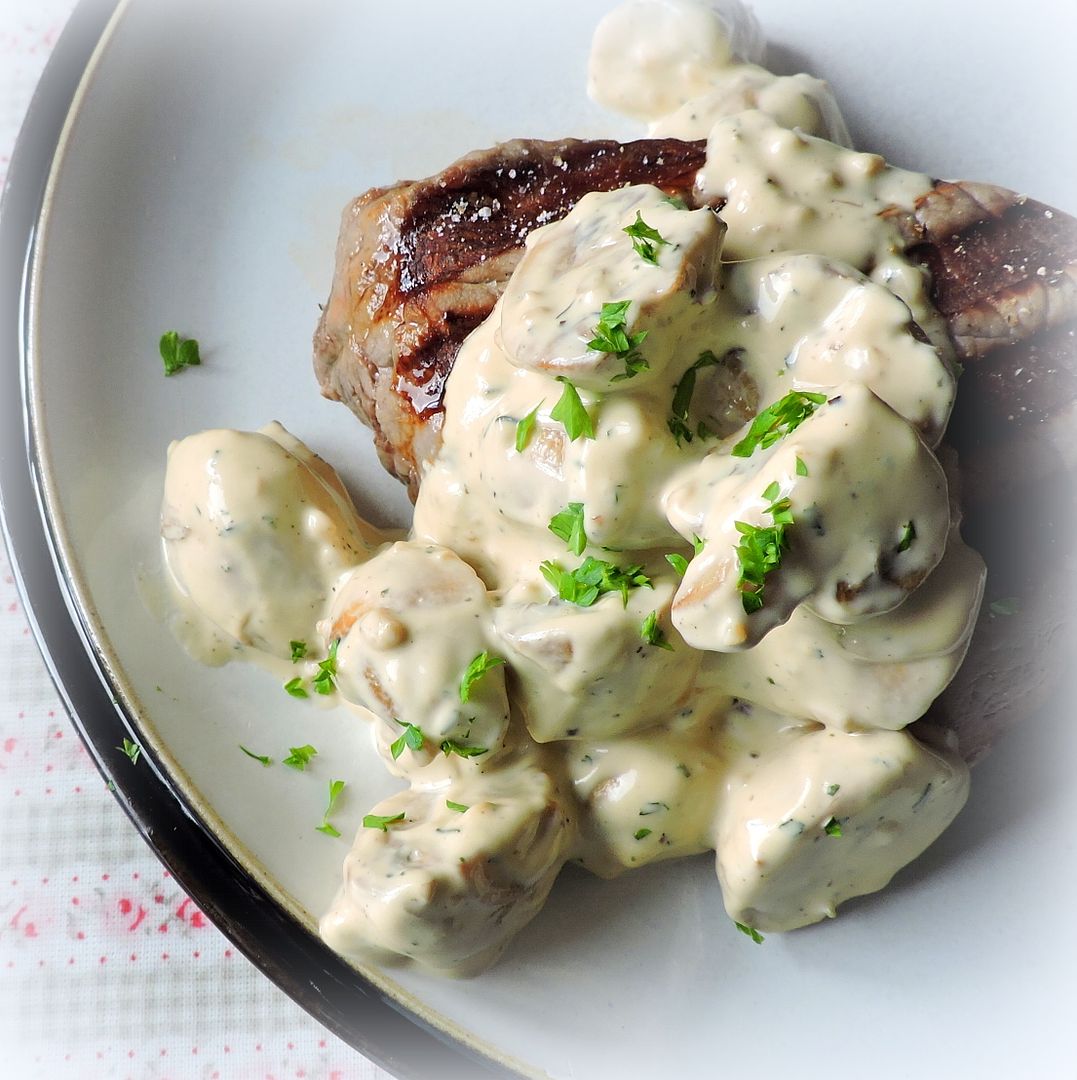
Which as you can see . . . I did not. Normally I wouldn't choose to grill a rump steak. Seriously. I have to say however, I did grill these, and they were, no word of a lie, some of the most delicious steaks that we have had in a very long time. They were tender and filled with flavour. We both really enjoyed them a lot! I would buy these steaks. I absolutely would. Hands down better than any I have ever bought in the shops.
I cooked them on my OptiGrill, taking them off as soon as the rare beep sounded and they were cooked perfectly. They were also very large. I cooked two of the four I was sent, and in all honest, I think they would have easily fed four people. They were very thick.
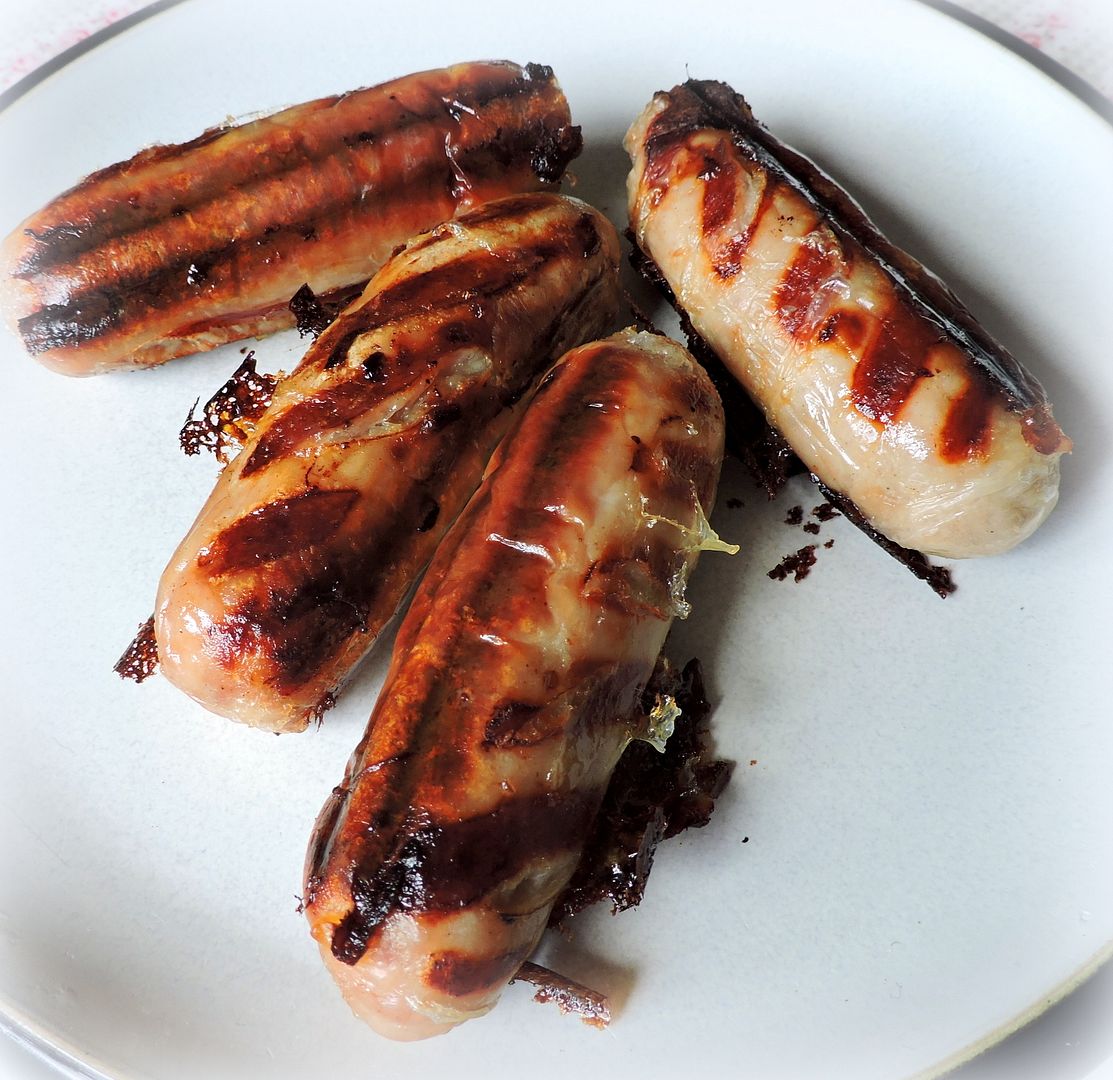
As an additional treat they included several packs of their
Hand Made Pork Sausages, which I cooked this morning for our breakfast.
Hand made with care by their butchers, Donald Russell sausages are made with tasty, pork shoulder, combined with delicious seasonings and made using natural casings. Ideal for quick and tasty meals anytime, they can be also be cooked from frozen.
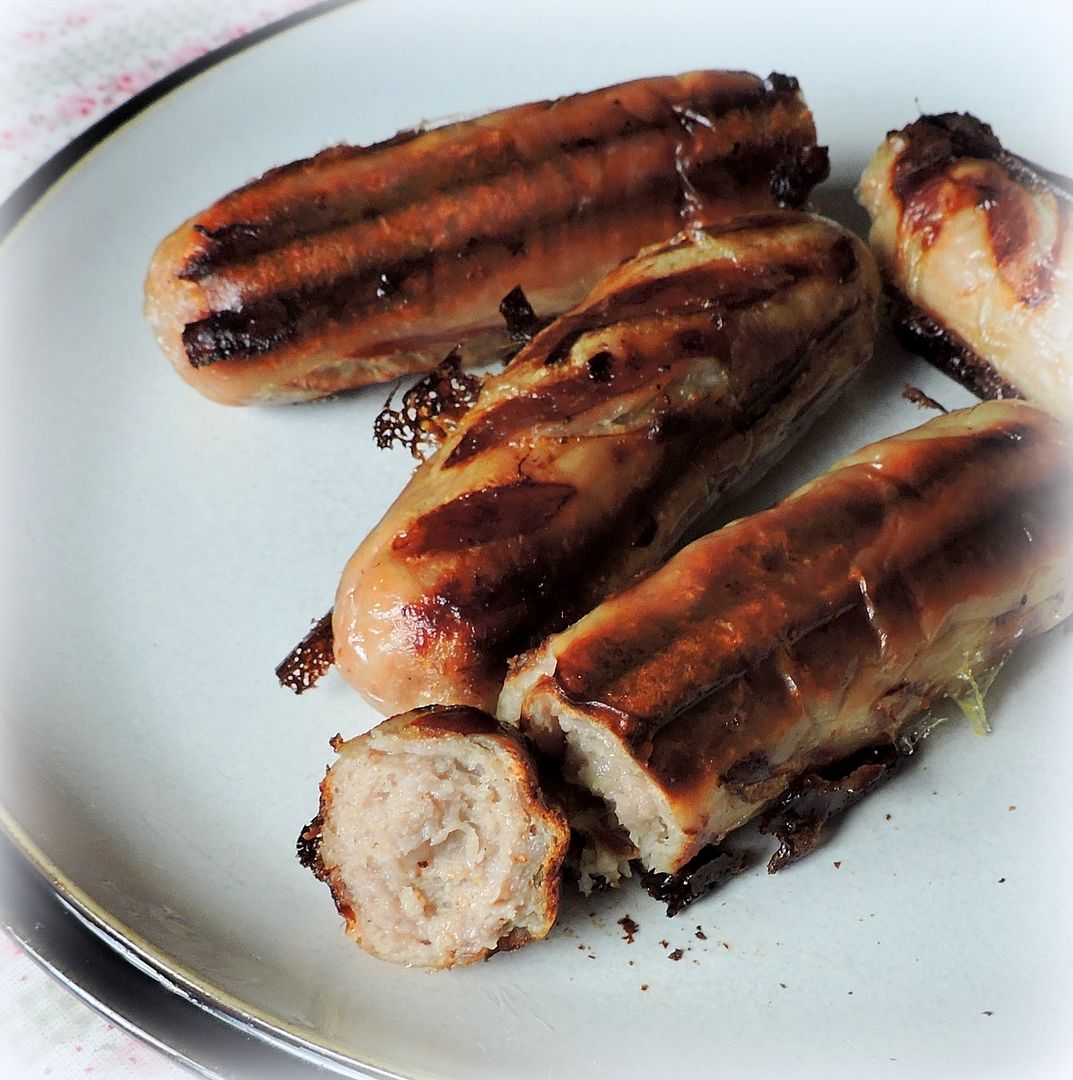
I have to say that I am not normally a fan of British Breakfast Sausage. I do like the Cumberland and spicier varities of British bangers, but the breakfast ones, not so big on that. Amazingly we found these sausages to be very flavourful, meaty and succulent, with a texture that wasn't at all unappealing. We quite
quite enjoyed!
A bit about the company:
"Donald Russell opened its doors to trade customers in 1974. In its early years, Donald Russell supplied gourmet meats to a growing number of highly reputed restaurants and hotels in the UK and worldwide, from Kensington Place and Simpson's-in-the-Strand to the Raffles Hotel in Singapore and The Grand Hotel, Monte Carlo.
They still supply many of them today, including some of the most reputable Michelin-starred names in the restaurant industry, from our London office where they can be nearer to many of their trade clients. However, due to a rapidly changing market place and a demand from the chefs to have the produce in their own homes , Donald Russell Direct was born and of course still delivers gourmet meat to households across the UK today.
Over the past decade donaldrussell.com has managed to build a reputation as THE place to buy meat online. This is an up-to-the-minute way of purchasing your goods with cooking tips and advice available at the click of a button."
I have to say my meat arrived in perfect condition, packed in dry ice and perfectly frozen. I was very impressed. Many thanks to the people at Donald Russell for affording me this opportunity to try out these lovely steaks and sausages. It was really good meat and I felt like I was eating like a Queen, and then lo and behold, I discovered that they supply the meat for HRM. ☺
Note - Although I was sent the meat and sausages for free, I was not required to write a positive review. Any opinions are truly my own.