Sunday, 31 August 2014

Mrs Patmore's stirring it up . . .

  photo ab98793b16bfb336e9f8ac66f7cf6481_zpsb776db55.jpg

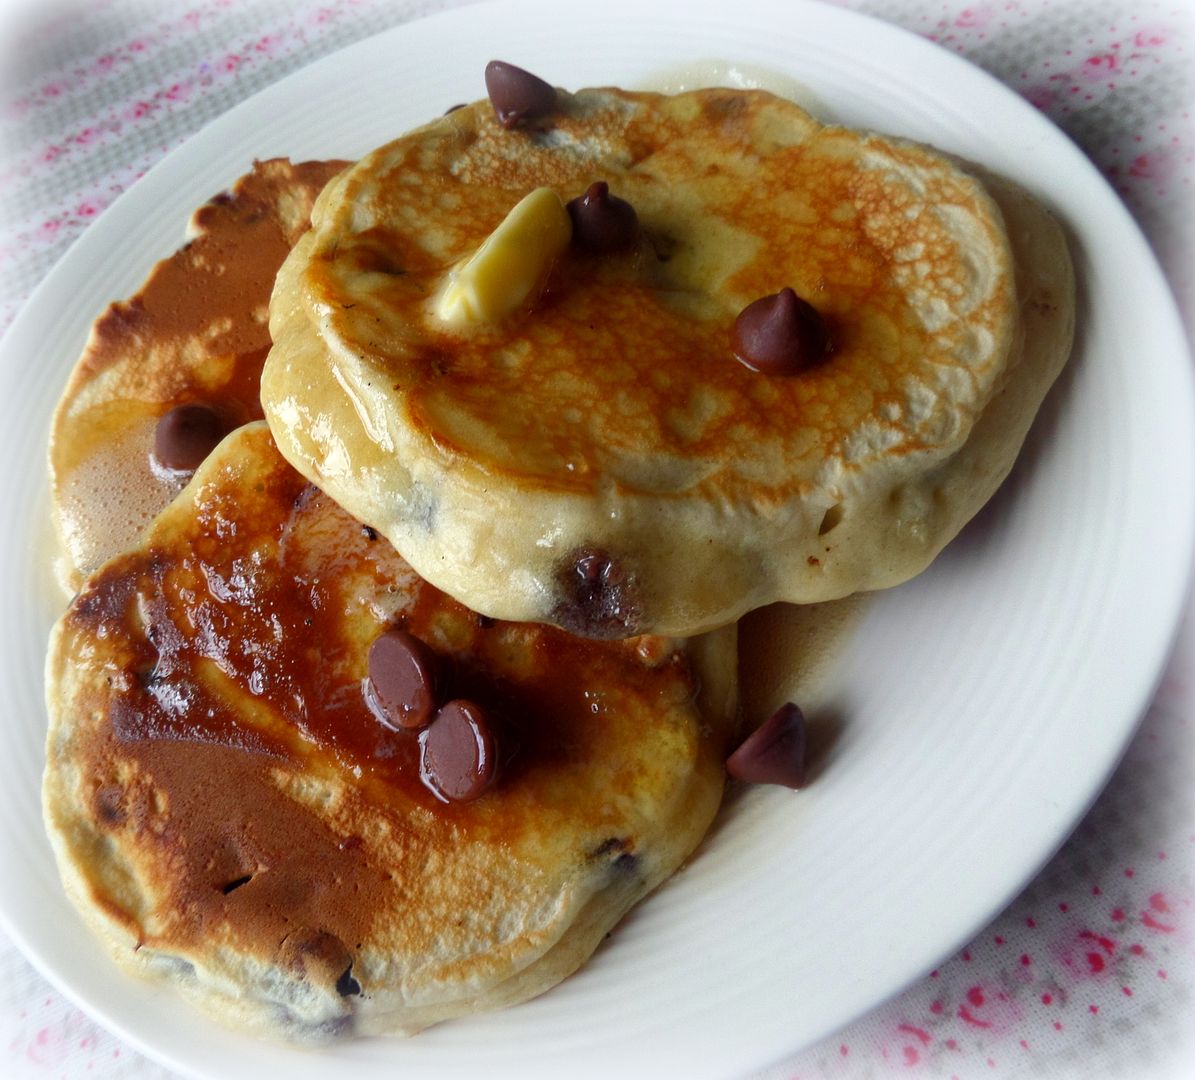
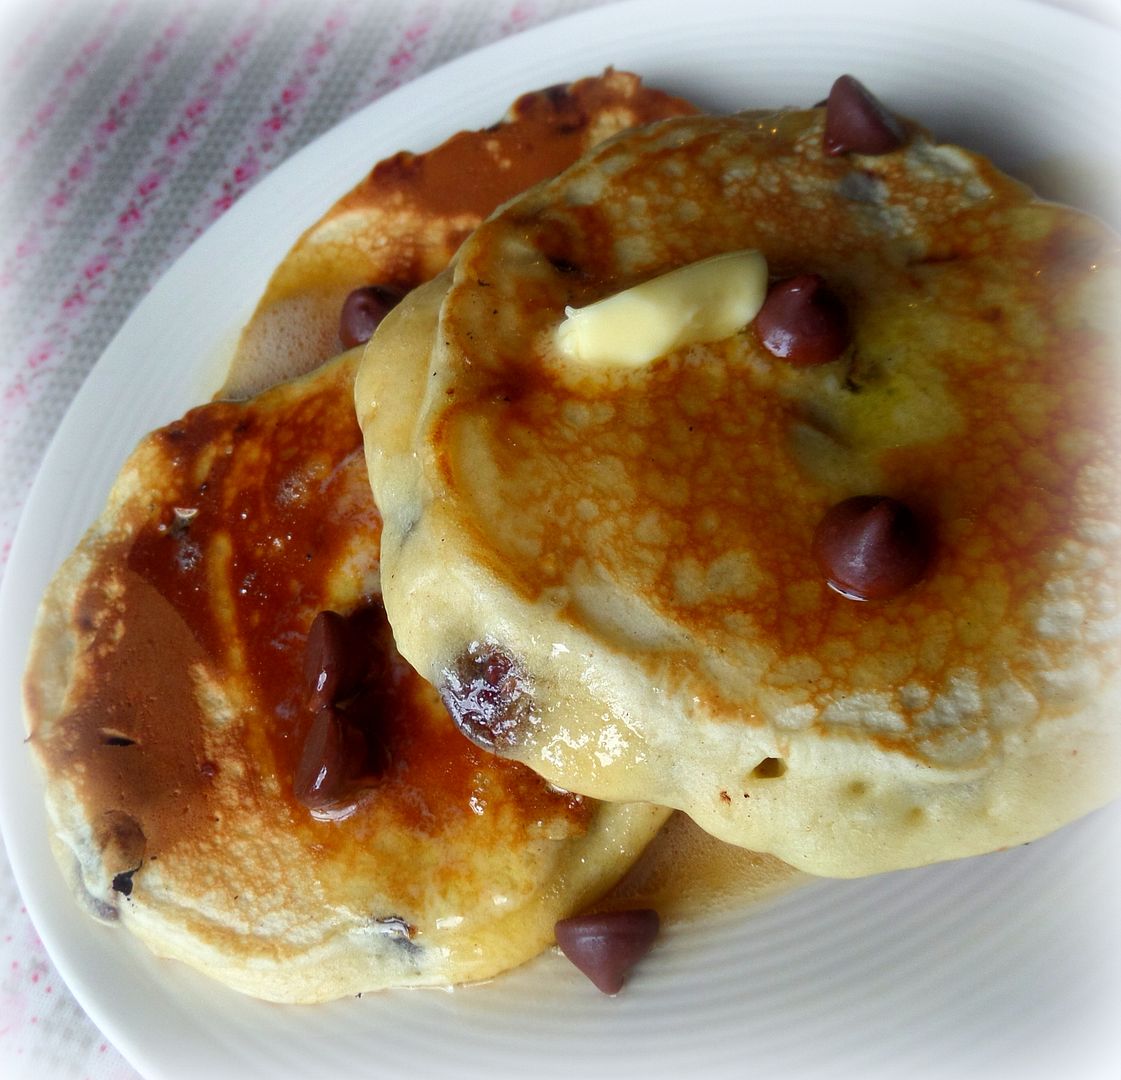
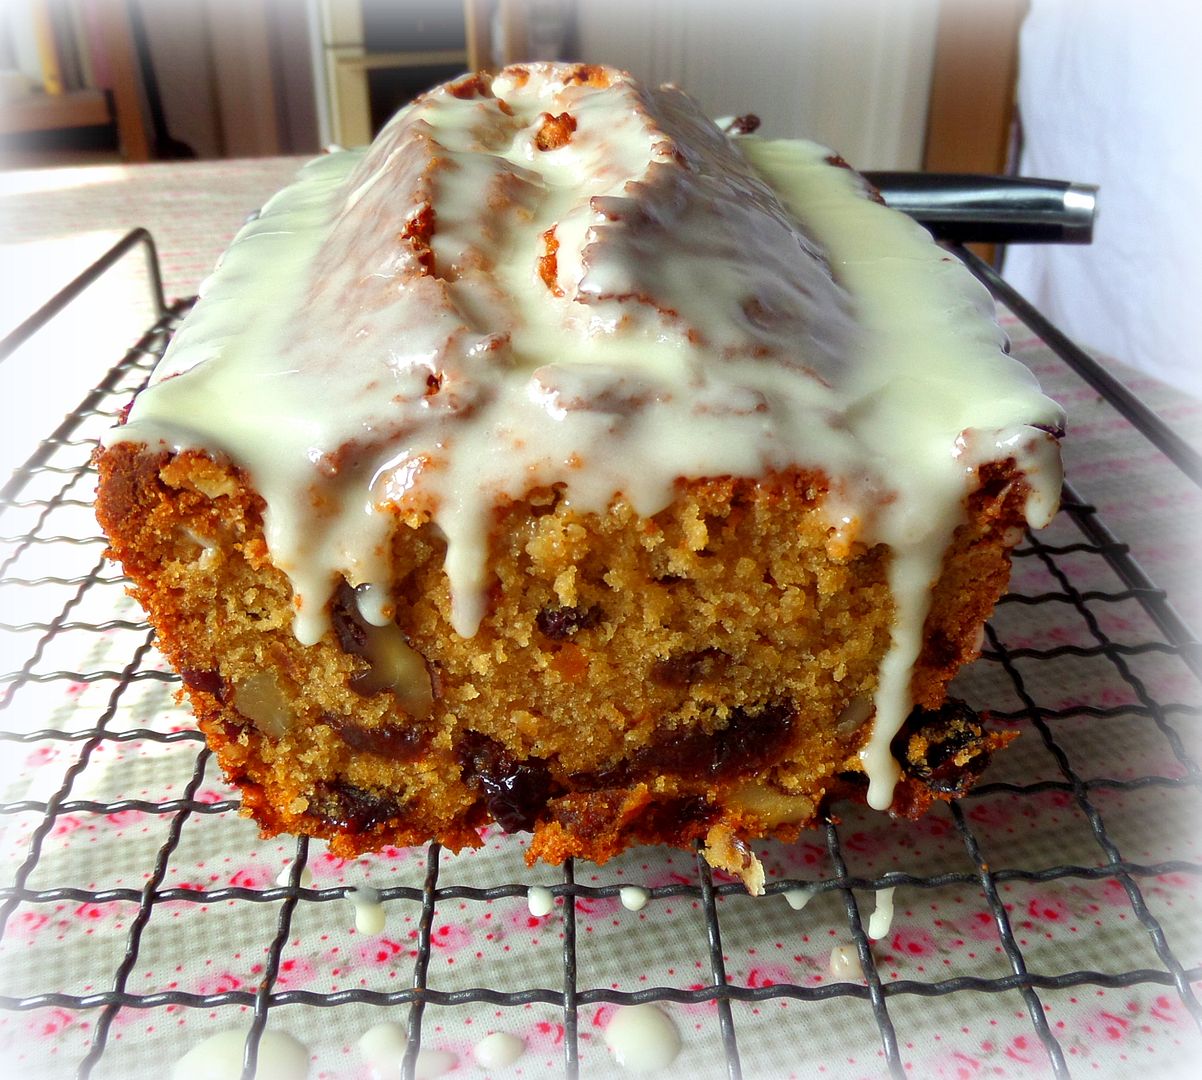
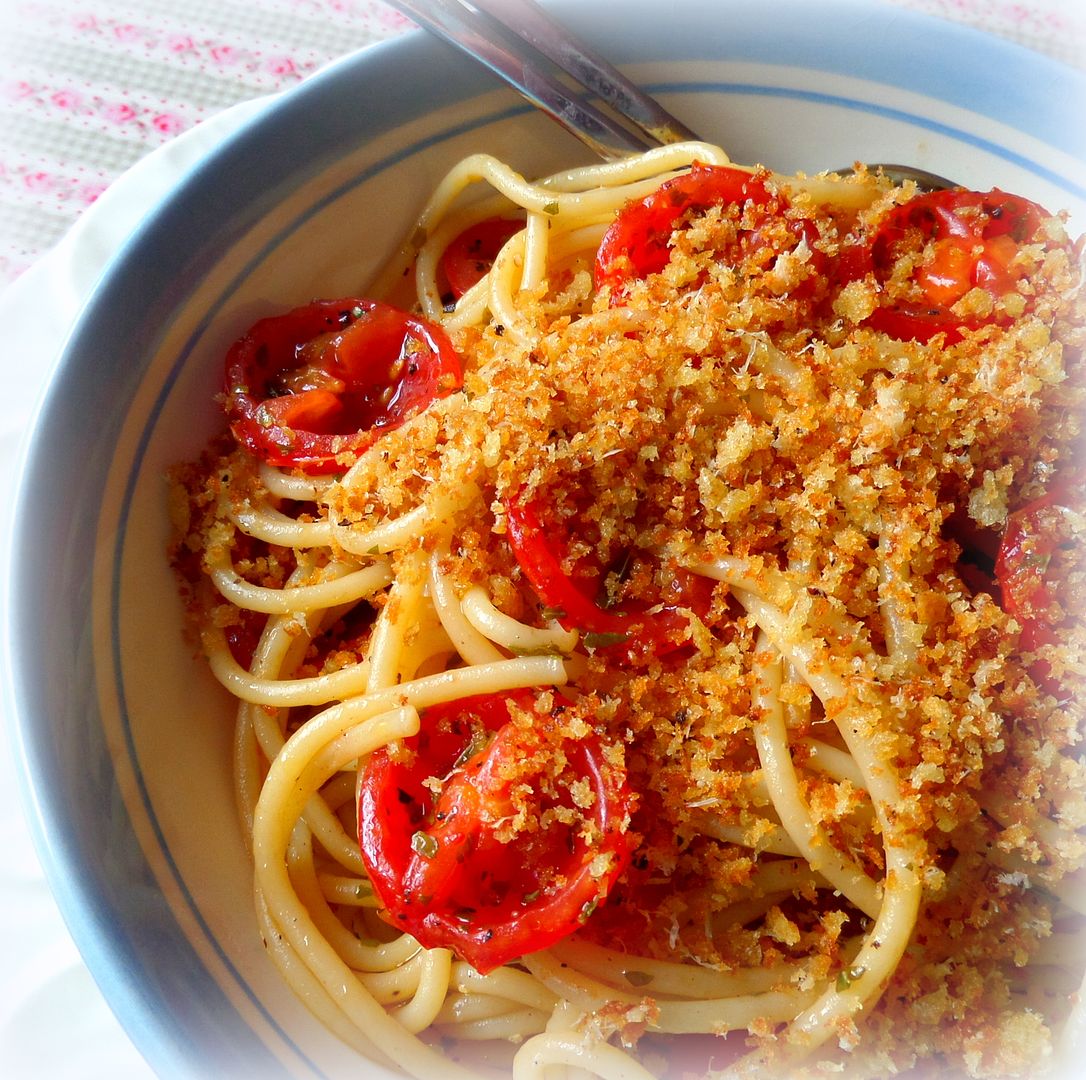
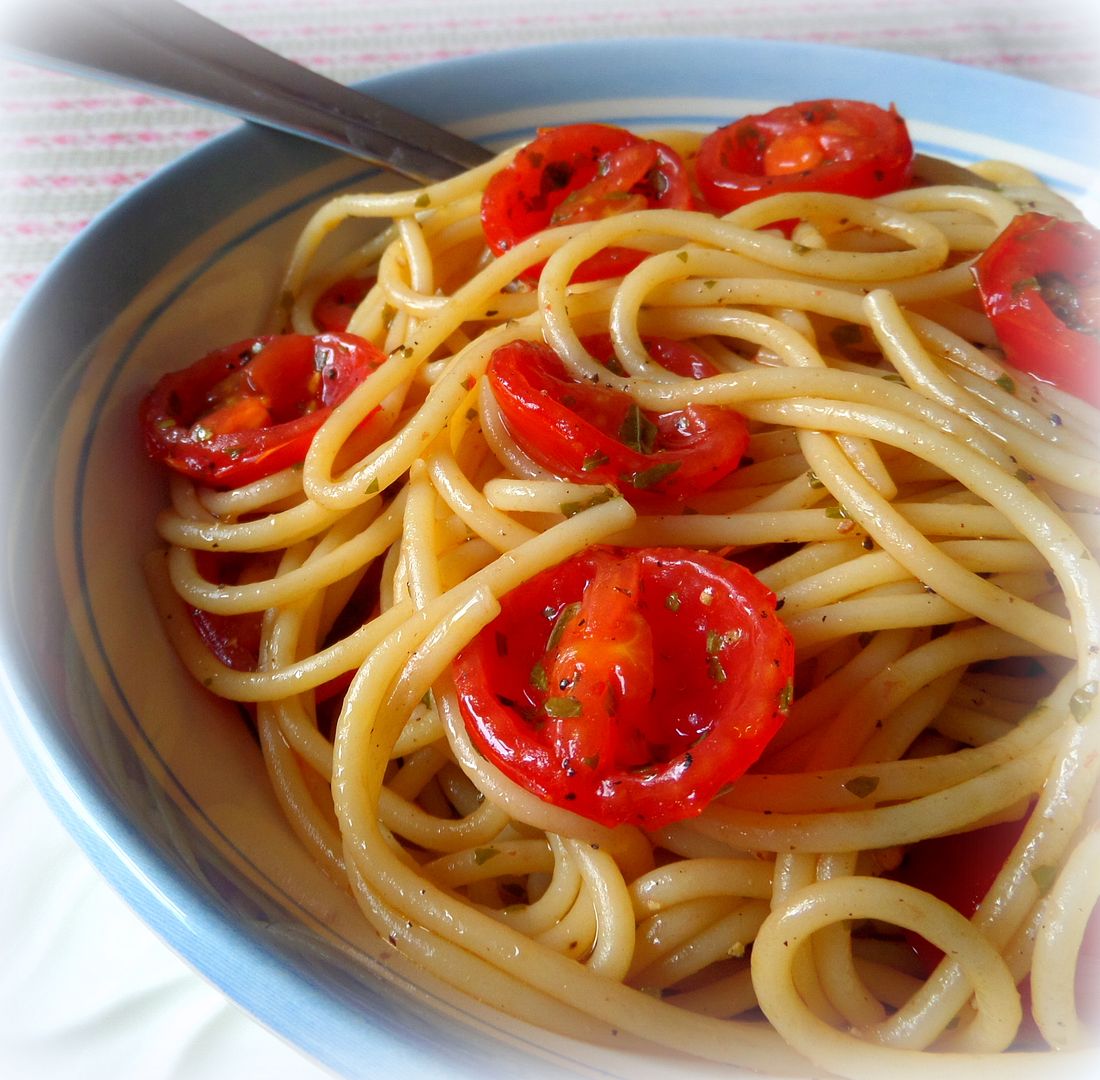
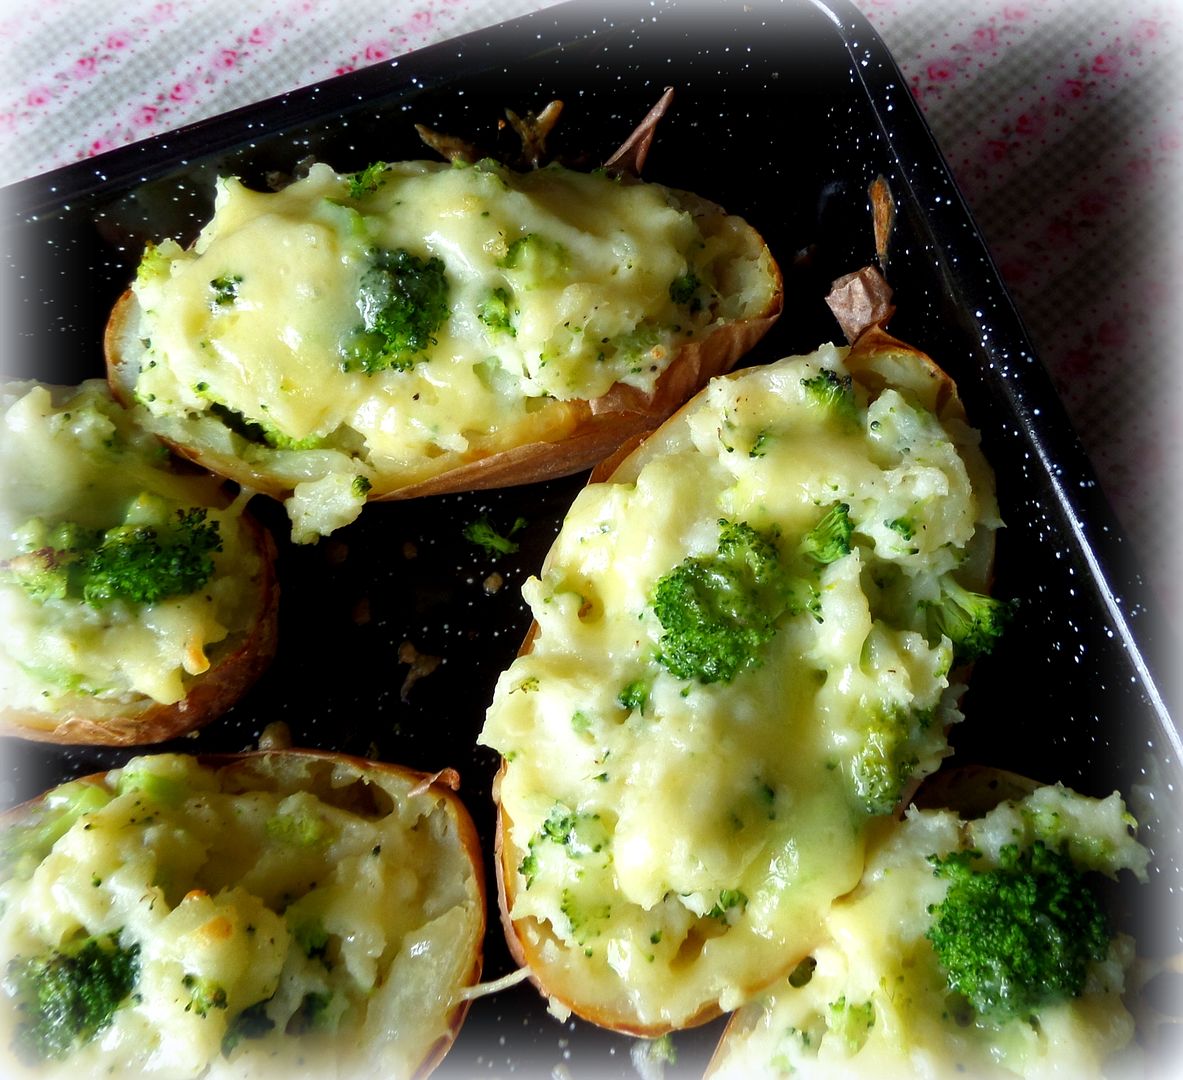
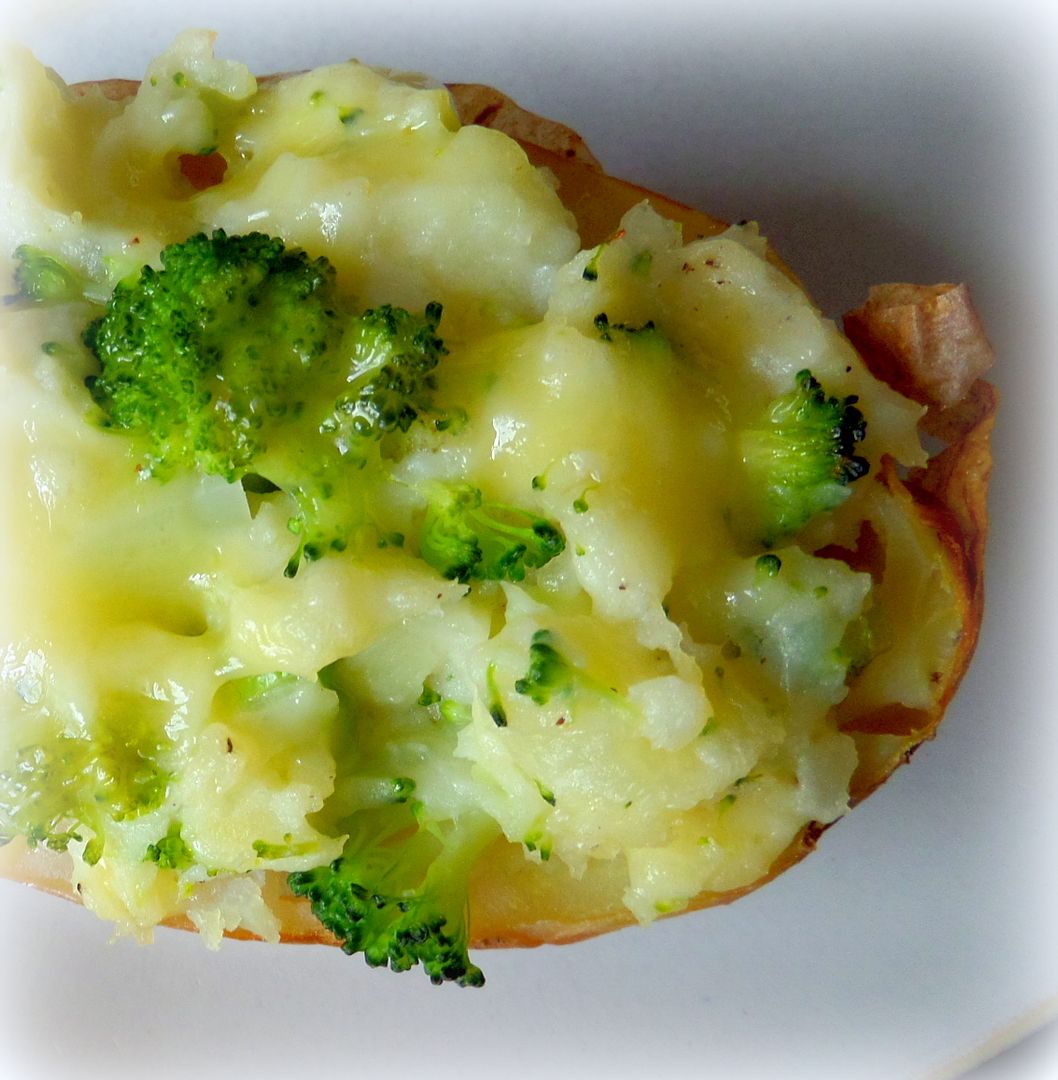
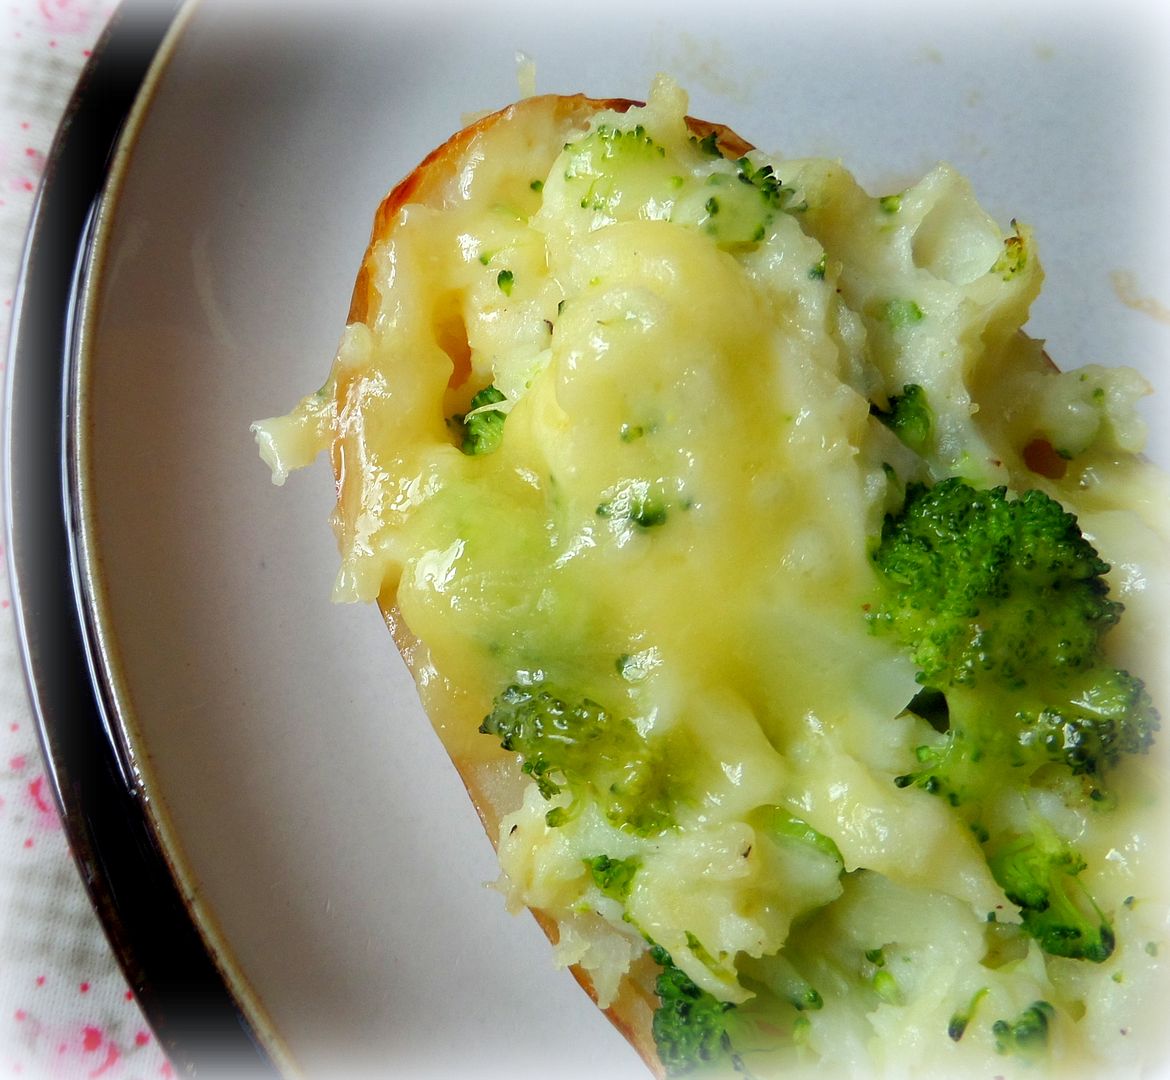
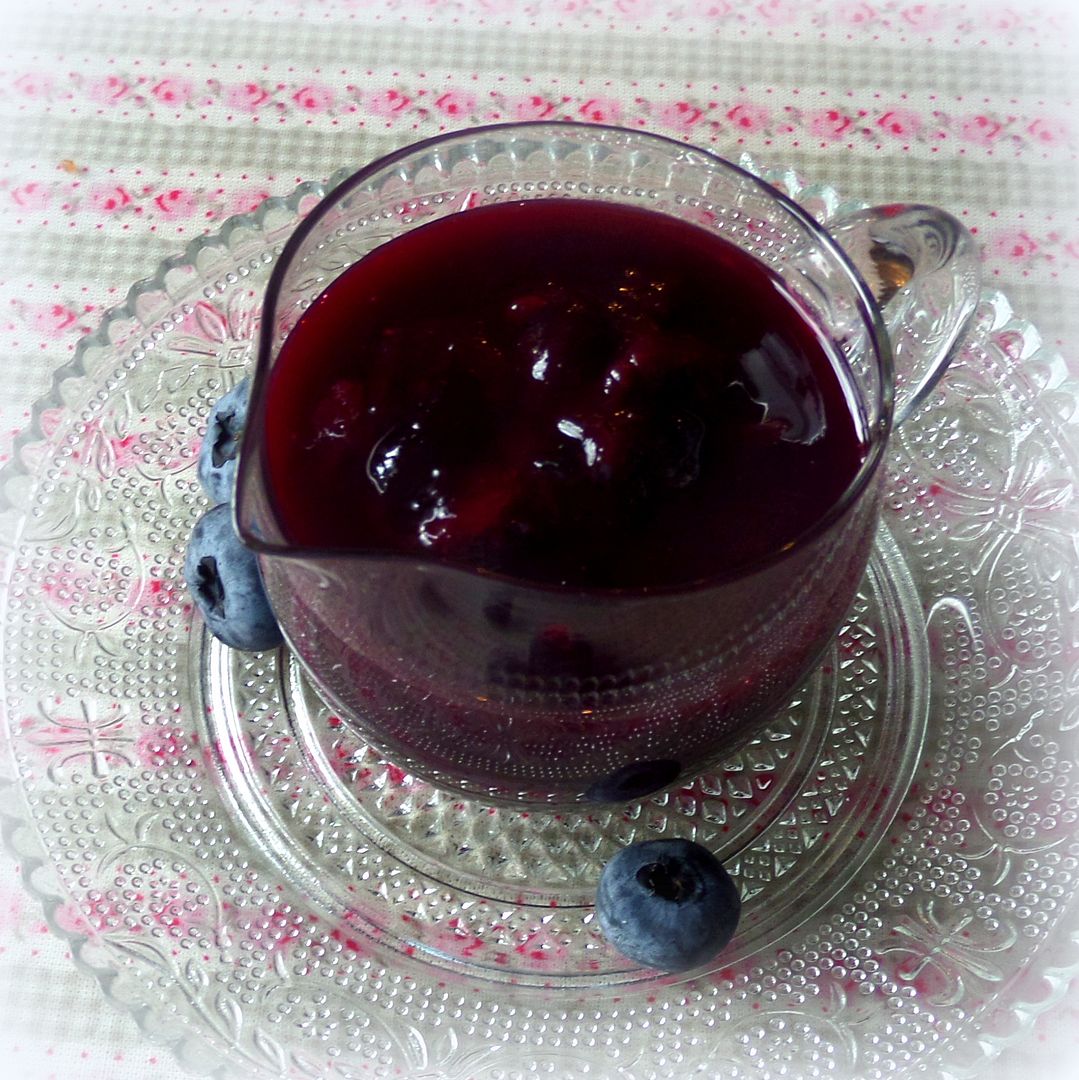
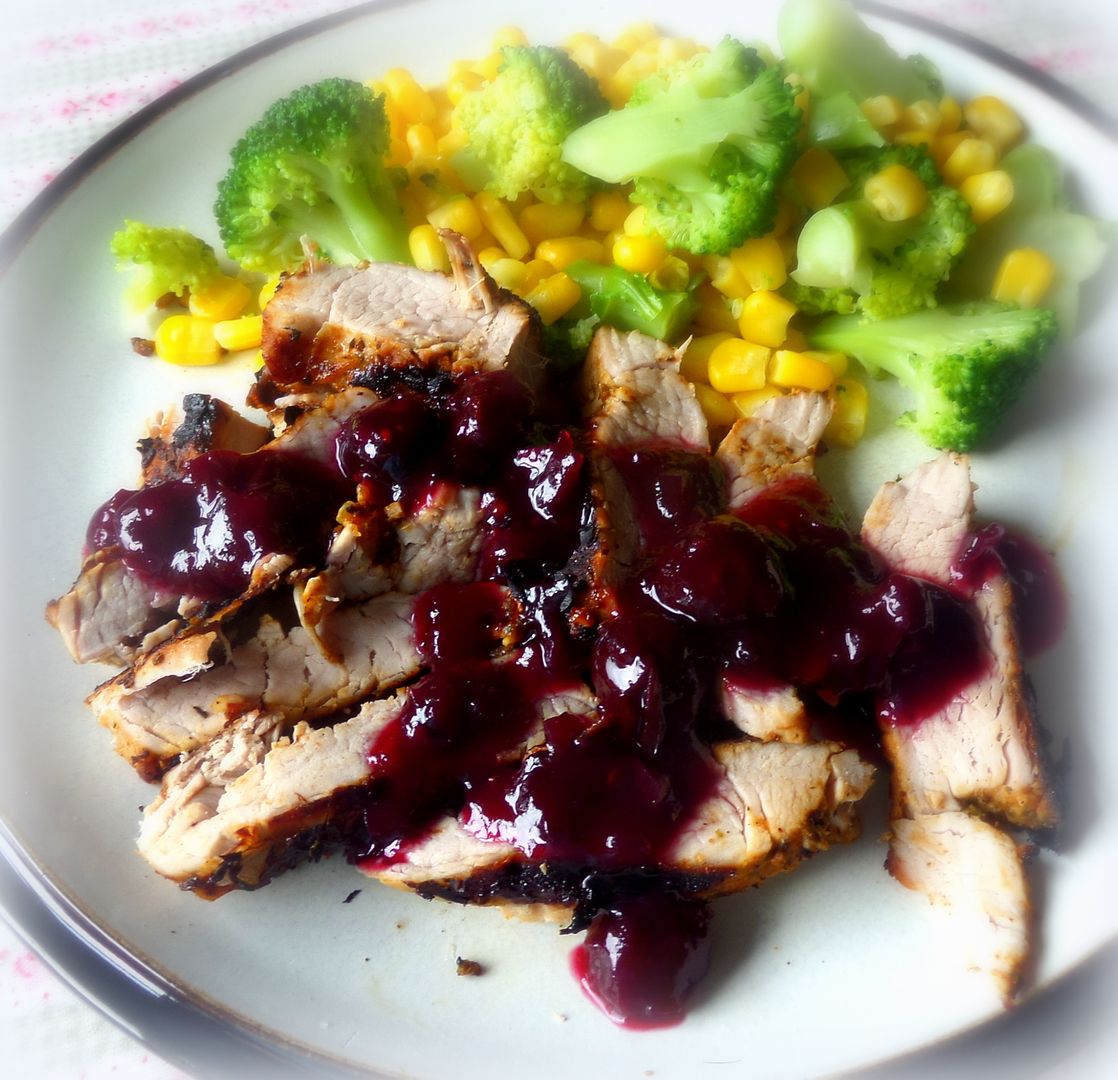
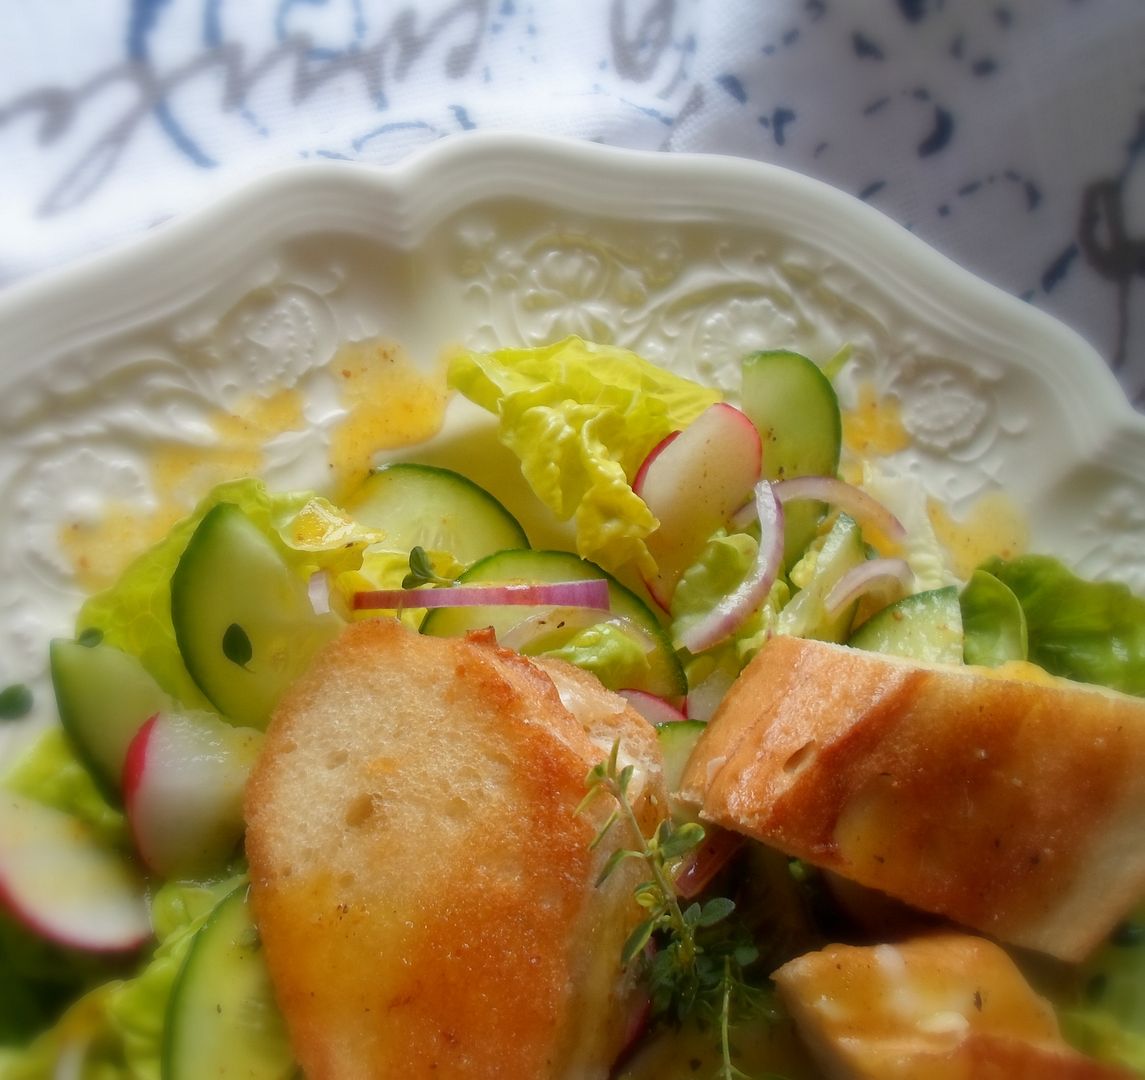
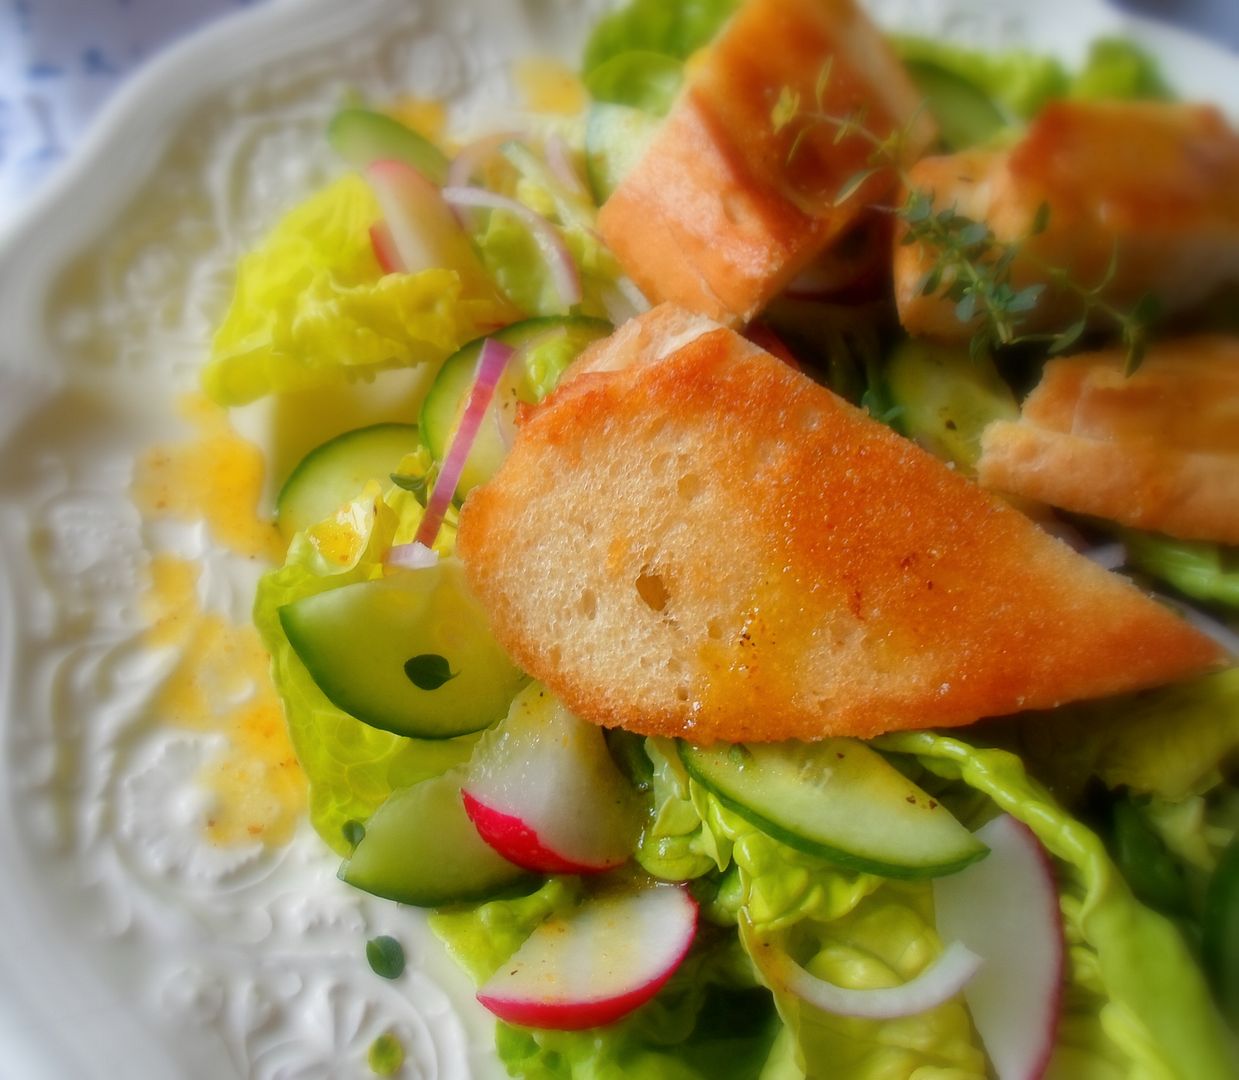
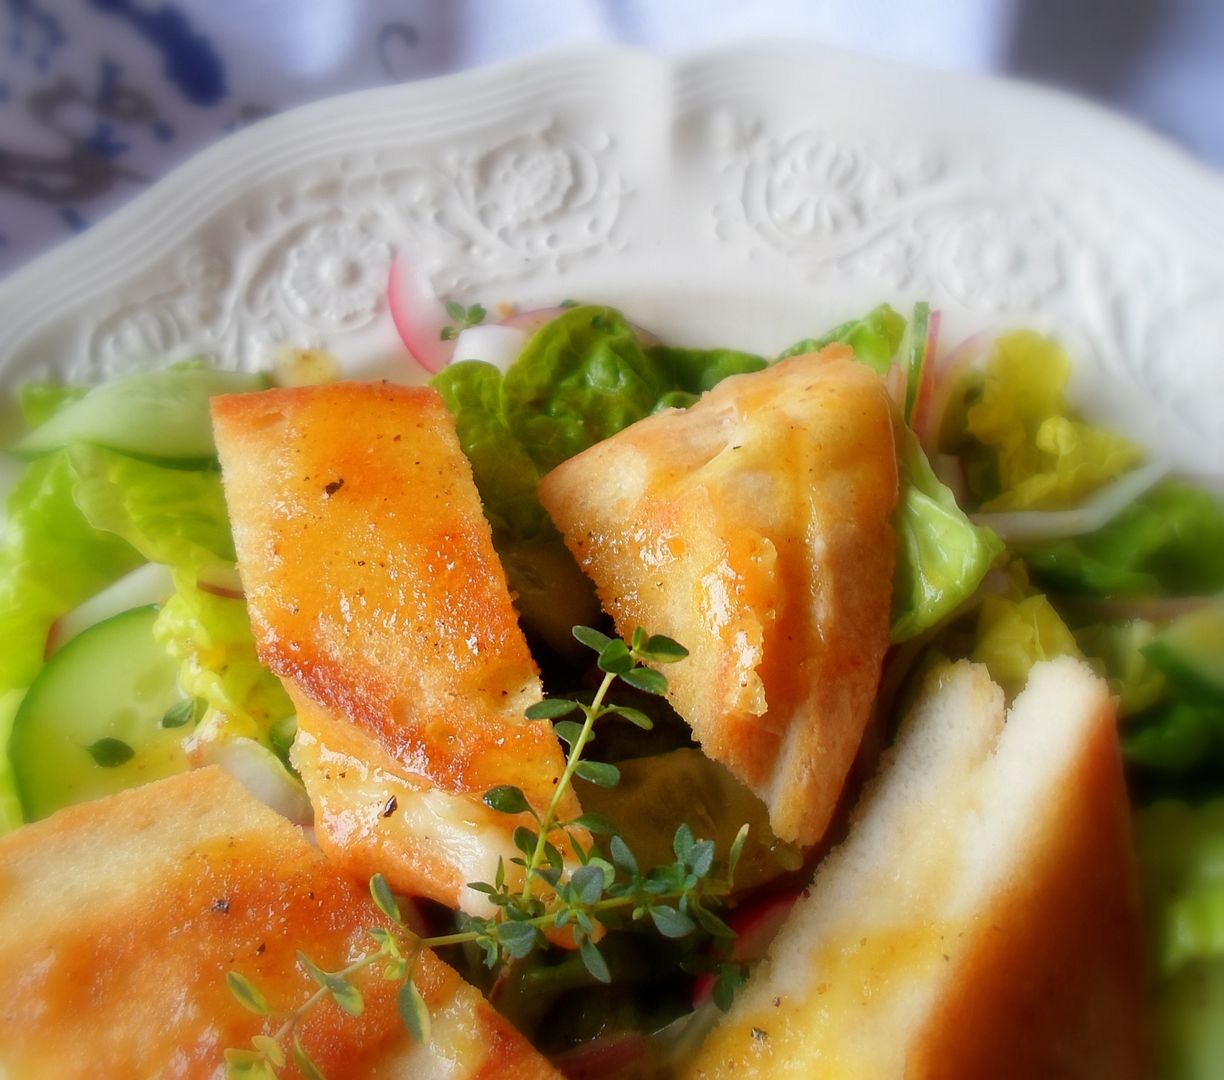
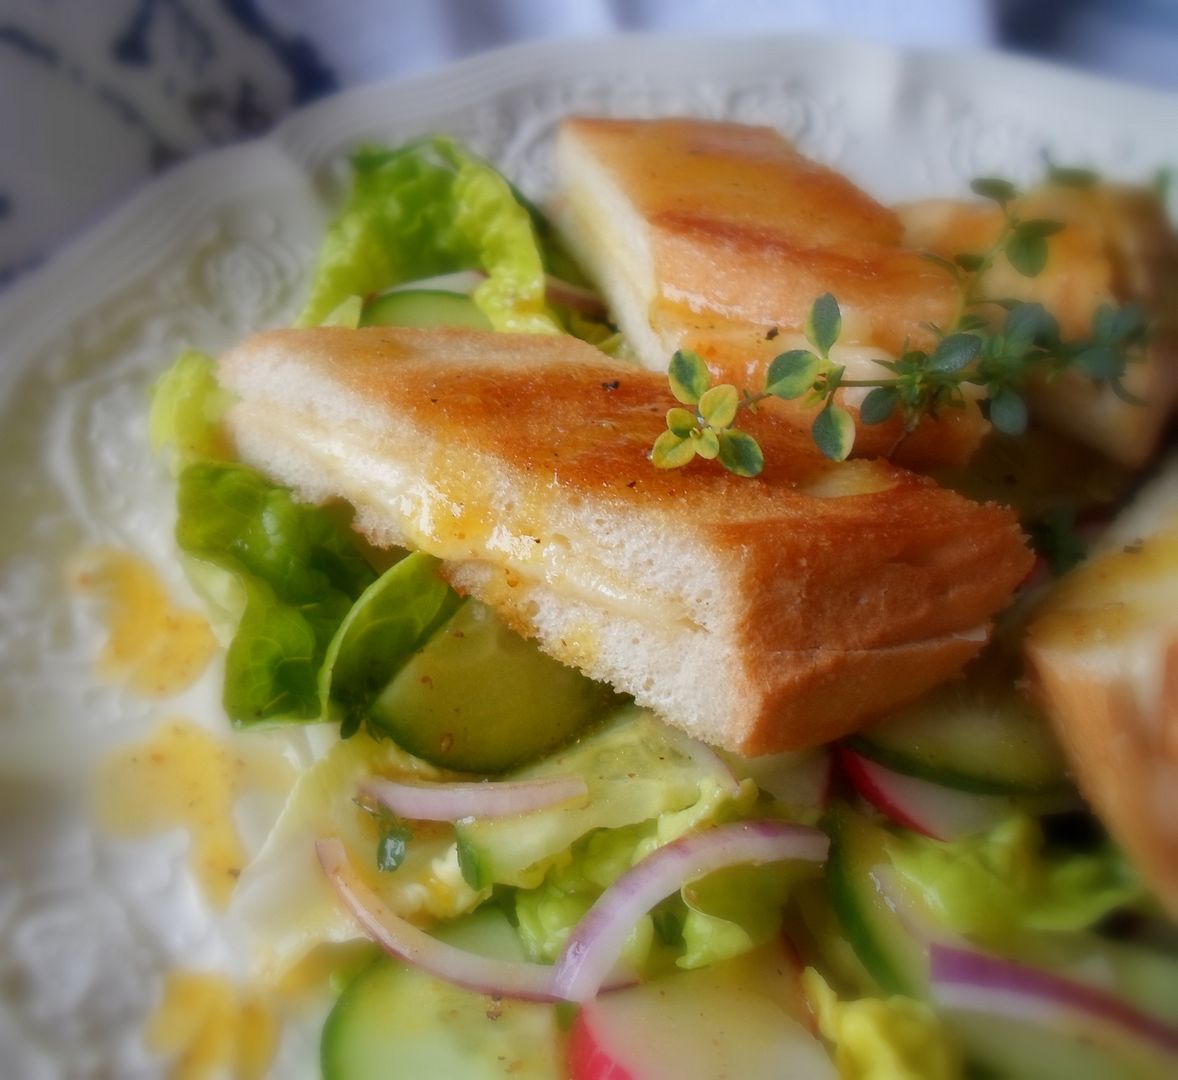
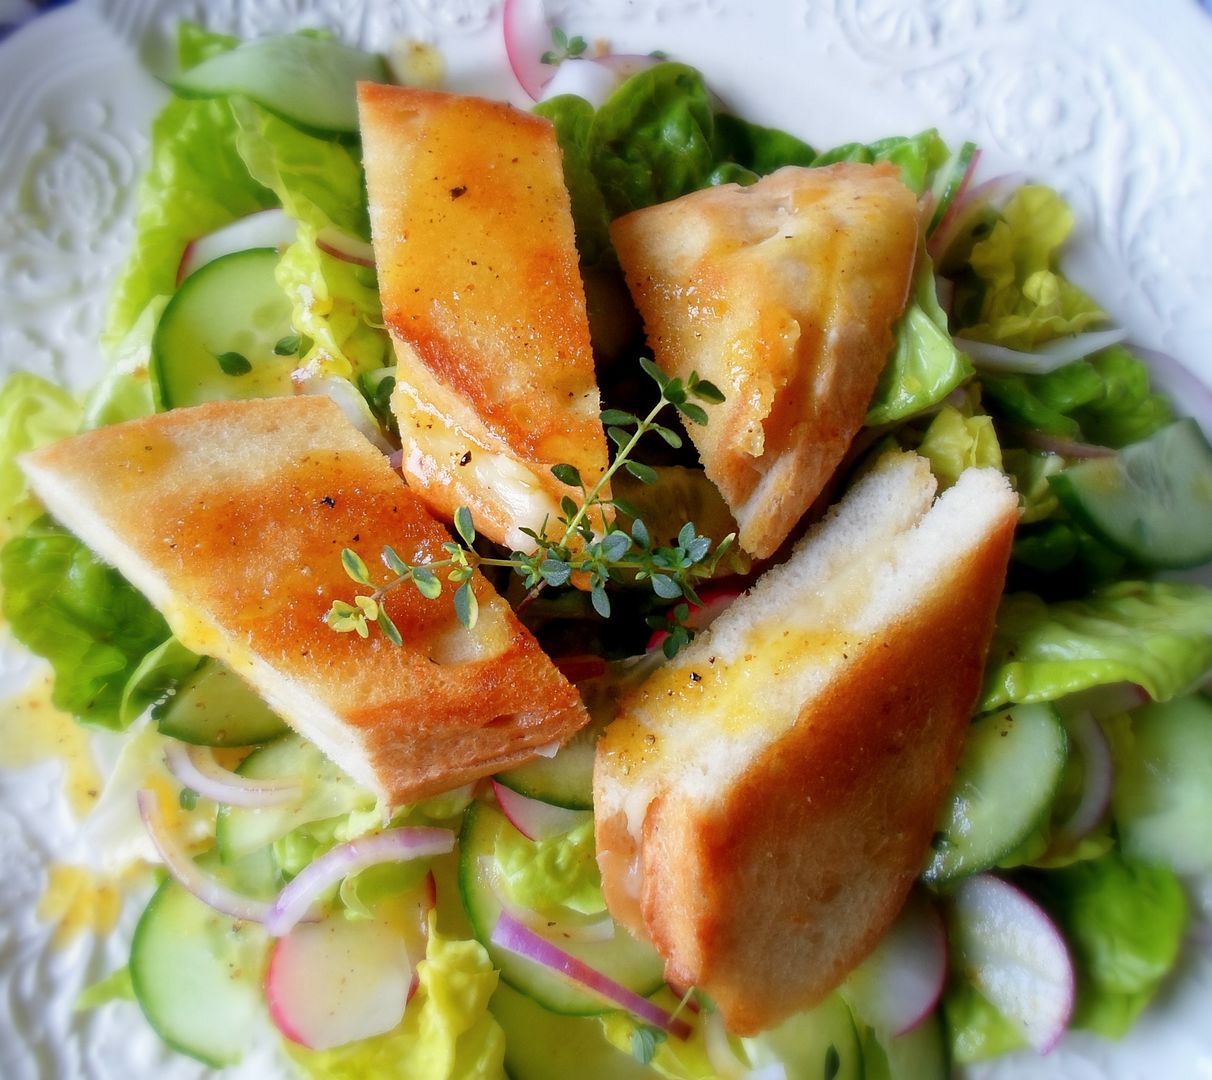
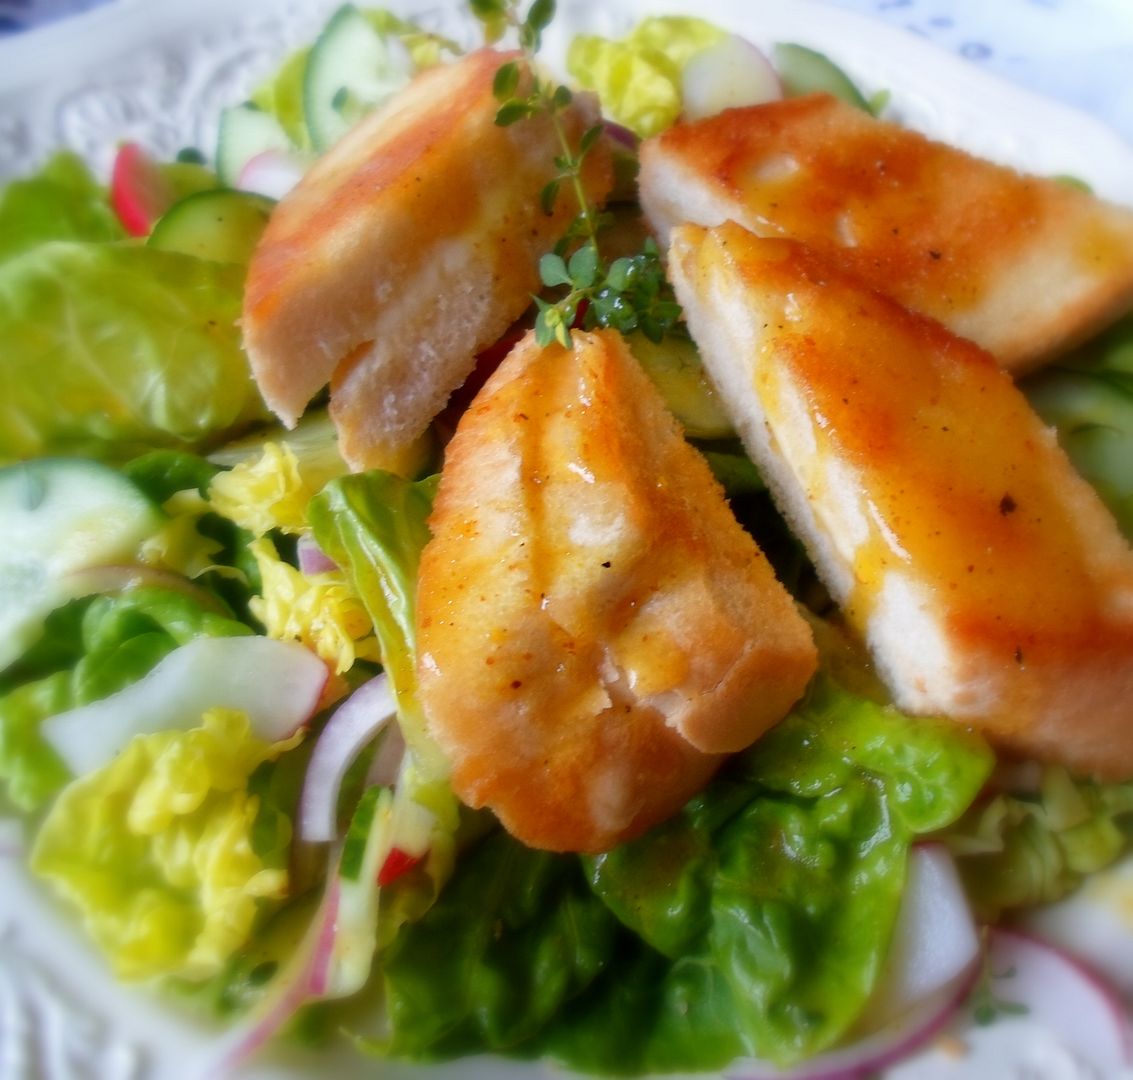
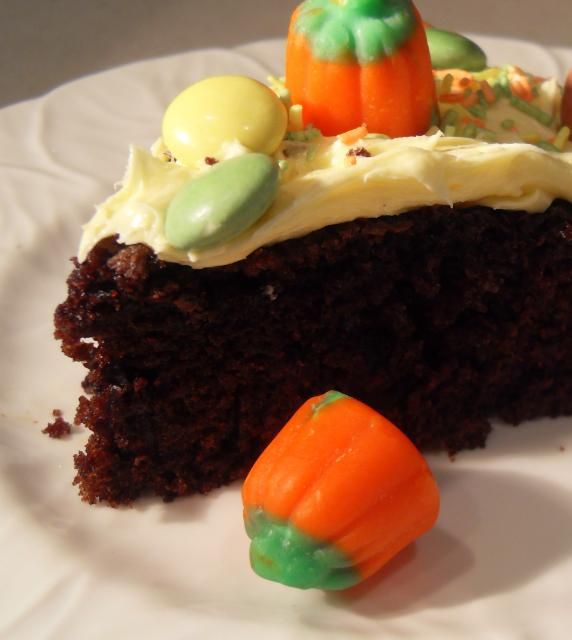
Shhh!!!  I'll let you in on a little secret, but you have to promise not to tell anyone else.   The recipes you see on this page  . . .  well they aren't the only activity which goes on in this English kitchen.   Lots of other things get cooked and enjoyed, but for one reason or another, just don't cut the mustard photography wise, so they get shelved . . .  never to be seen.   I'm going to fix that today.   Who cares if there aren't a bazillion pics of each recipe for you to drool over.   A good recipe is a good recipe right?   Right!  And so today I'm going to show you some of the ones that didn't quite make the final cut . . .  but which are quite bloody delicious irregardless of how they look!

Just don't tell Marie I was fooling around on here.   Mum's the word . . .   oh yeh, and I'll be back walloping the pots and pans in the Grantham's kitchen at the end of September.  Can't wait!


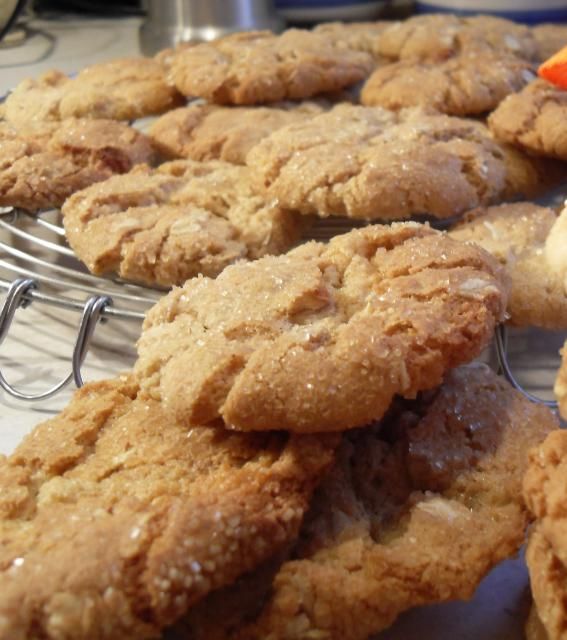
*Cinnamon Oatmeal Cookies*
Makes about 36
Printable Recipe

Oh my but these are delicious fresh out of the oven with a tall glass of cold milk.  Each bite brings you the sweet crunch on the outside with the chewiness of the inside, and full oaty flavour.  I think these are fast becoming my favourite.

1/2 cup butter, softened  (125g)
1 1/4 cup sugar (250g)
1 large egg
1 TBS molasses
1 tsp vanilla
1 1/2 cups flour (210g)
1 1/4 cup old fashioned rolled oats, (Do NOT use instant) (100g)
1 tsp baking powder
1/2 tsp baking soda
1/2 tsp salt
1 tsp ground cinnamon
3/4 cup demerara sugar (to roll the cookies in) (about 125g)

Pre-heat the oven to 180*C/350*F.  Line two baking sheets with baking parchment.  Set aside.

Cream the softened butter together with the sugar, until light and cream.  Beat in the egg, molasses and vanilla.  Whisk together the flour, baking powder, baking soda, salt and cinnamon.  Stir this into the creamed mixture, blending in well.  Stir in the oats.  Put the demerara sugar into a bowl.

Roll bits of the dough into walnut sized pieces and then roll each ball in the demerara sugar to coat.  Place on the baking sheets, leaving about 2 inches between.   Bake, one tray at a time, placing them on the centre rack of the oven, for 10 to 12 minutes, or until lightly browned.  Remove to a wire rack to cool.  Repeat until all the dough has been used up.  Store in an airtight container.
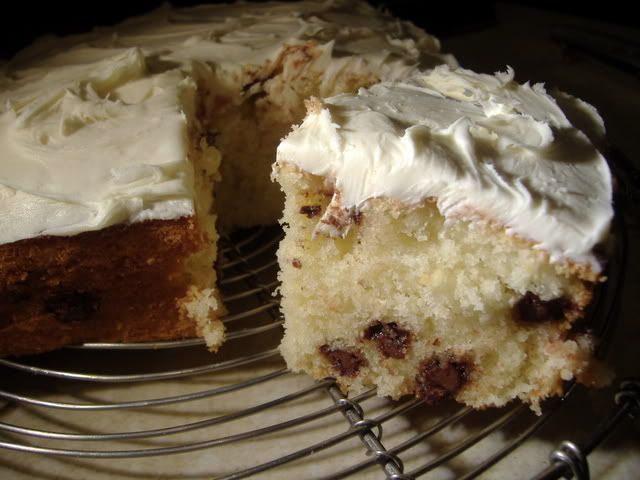


*Chocolate Chip Cake*
Makes one 8 inch square cake
Printable Recipe

This is a tasty amd moist white cake, just stogged full of delicious milk chocolate chips.  If you are feeling really indulgent you can replace the chocolate chips with the same amount of good quality milk chocolate cut into bits. My favourite it Green and blacks.  The icing does call for raw egg yolk, so if you are making this cake for the elderly or the very young, I would replace it with a plain vanilla buttercream icing.

for the Cake:
1/2 cup butter, softened (125g)
3/4 cup sugar (150g)
2 cups flour (280g)
3 tsp baking powder
1 tsp vanilla
3 egg whites, beaten stiff along with 1/4 cup sugar
3/4 cup milk  (6 fluid ounces)
3 ounces milk chocolate chips (Or an equivalent amount of good quality milk chocolate,
such as Green and Black's, chopped into small bits) (Remove 1 TBS of the flour before mixing it with the
baking powder and stir this into the chocolate chips so that they don't sink when baking)
for the Icing:
1/2 cup butter, softened (12555g)
1 1/2 cup icing sugar (300g)
3 egg yolks
1 tsp vanilla

Pre-heat the oven to 180*C/350*F.  Grease an 8 inch square pan and then line it with parchment paper.  Grease again and then set it aside.

Cream the butter and sugar together until light and fluffy.  Whisk together the dry ingredients.  Add them to the creamed mixture, alternately, beginning and ending with the dry.  Carefully fold in the beaten egg whites.  Fold in the chocolate chips, along with any flour residue.  Spread the batter into the prepared pan and then bake for 30 to 35 minutes, or until the centre springs back when lightly touched and a toothpick inserted in the centre comes out clean.  Be careful not to overbake it.  Let sit in the pan for about 10 minutes before removing it completely to a wire rack to cool  before icing.

To make the icing, cream the butter until light.  Beat in the remaining ingredients, beating until light and fluffy.  Spread on top of the cooled cake.


*Gingerbread Pudding Cake*
Serves 12, but can be successfully halved
Printable Recipe

I just love pudding cakes, and this one is a spicy delight!  Serve warm with ice cream for a realy tasty treat!

2 1/2 cups flour (350g)
1 1/2 tsp baking soda
2 1/4 tsp ground ginger
1 tsp ground cinnamon
1/2 tsp salt
1/2 tsp ground allspice
1/4 tsp freshly ground nutmeg
1/4 tsp ground cardamom
1/2 cup butter, softened (125g)
1/2 cup sugar (100g)
1 large egg, beaten
1 cup molasses
(mild and in the uk you can use 1/4 cup dark treacle mixed with 1/4 cup golden syrup)
1 cup water (225ml)
3/4 cup firmly packed brown sugar (150g)
1 1/2 cups hot water (345ml)
1/3 cup butter, melted (75g)

Pre-heat the oven to 180*C/350*F.  Whisk the flour, baking soda, ginger, cinnamon, salt, allspice, nutmeg and cardamom together in a bowl.  Set aside.

Cream the butter and sugar together until creamy.  Beat in the egg.  Mix the molasses and water together and then beaet that into the creamed butter, alternately with the flour mixture, beating only until blended.  Do not over beat.  Pour batter into an ungreased 13 by 9 inch baking pan. Sprinkle the brown sugar evenly over top.  Stir together the hot water and melted butter and carefully pour this over top of the batter.  Do not stur.  Bake for 40 to 55 minutes, or until the gingerbread looks all cracked on top and a toothpick inserted into the centre comes out clean.

Serve warm with some ice cream.  Delicious!!


*One Bowl Chocolate Cake*
Makes 2 9-inch layers
Printable Recipe

This is a rich and moist chocolate cake which goes together in a jiffy, all in one bowl.  Frost as desired with your favourite frosting.

2 cups sugar (383g)
1 3/4 cups all purpose flour (350g)
3/4 cup unsweetened cocoa powder (85g)
1 1/2 tsp baking powder
1 1/2 tsp baking soda
1 tsp salt
2 large free range eggs
1 cup whole milk (225ml)
1/2 cup sunflower oil (120ml)
2 tsp vanilla extract
1 cup boiling water (225ml)

Pre-heat the oven to 180*C/350*F.  Grease and flour two nine-inch round cake tins.  Set aside.

Place all the cake ingredients,except for the boiling water into a large bowl.  Beat for 2 minutes on the medium speed of an electric mixer.  Stir in the boiling water and divide the batter amongst the prepared cake tins.  The batter will be thin.  Don't worry, this is normal.

Bake for 30 to 35 minutes.   The cake is done when a toothpick inserted in the centre comes out clean.  Cool in the pans for 10 minutes before removing to wire racks to finish cooling.

Frost and decorate as desired.


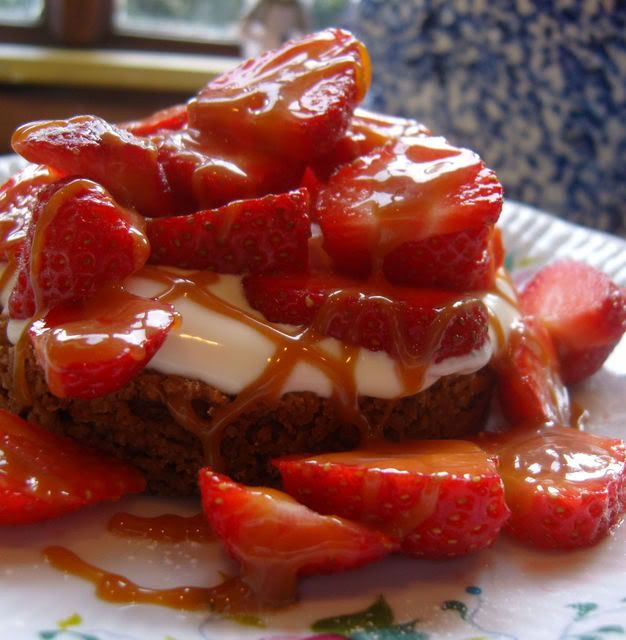
 *Strawberry Toffee Tart*
Serves 6
Printable Recipe

A crispy, buttery and oaty crust covered with a tangy cream and a plethora of sliced strawberries, this is truly moreish. A final drizzle of toffee sauce is it's crowning glory. Easy, quick and pleasing on all levels this is a true winner!

170g of hobnob biscuits (a buttery oatmeal cookie)
(Scant two cups of crumbs)
85g (1/3 cup) butter
400g of ripe strawberries (scant 3 cups)
385ml of double cream ( 1 2/3 cup)
5 soft toffees (such as Werther's original soft toffees)
200g tub of Greek Yoghurt (1 2/3 cup)
icing sugar for dusting


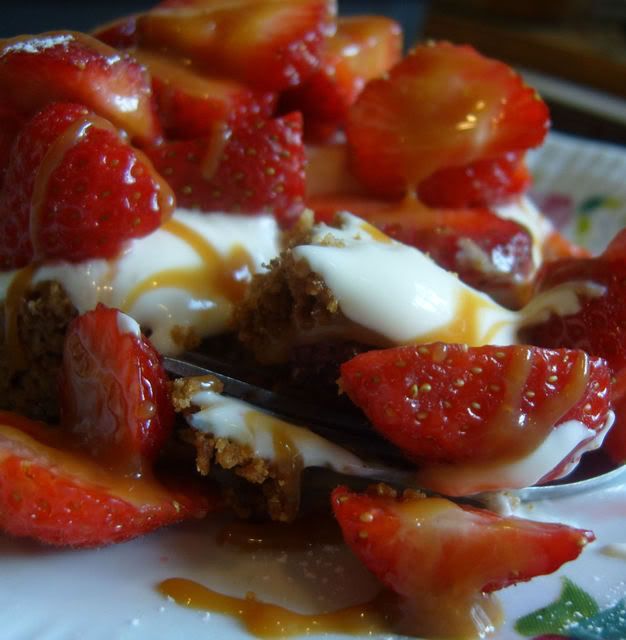
Line an 8 inch tart tin with baking parchment. Crush the biscuits to fine crumbs either in your food processor, blender or by bashing them in a plastic bag with a rolling pin. Tip them into a bowl and mix together with the melted butter. Press this mixture evenly in the base of the tart tin. Place in the refrigerator for 30 minutes or so until it feels firm. Once firm, remove the biscuit base from the tin and carefully slide it onto a flat serving plate.

Slice the strawberries and set aside.

Take 2 TBS of the cream and put it into a small bowl. Whip the rest of the cream until it holds soft peaks. Fold in the yoghurt and then spoon this mixture over the top of the biscuit base and cover with the sliced strawberries.

Add the toffees to the cream and place in the microwave. Cook on medium heat for 30 seconds to 1 minute. Stir until they form a sauce. Drizzle this sauce over the berries. Dust with icing sugar just before serving.


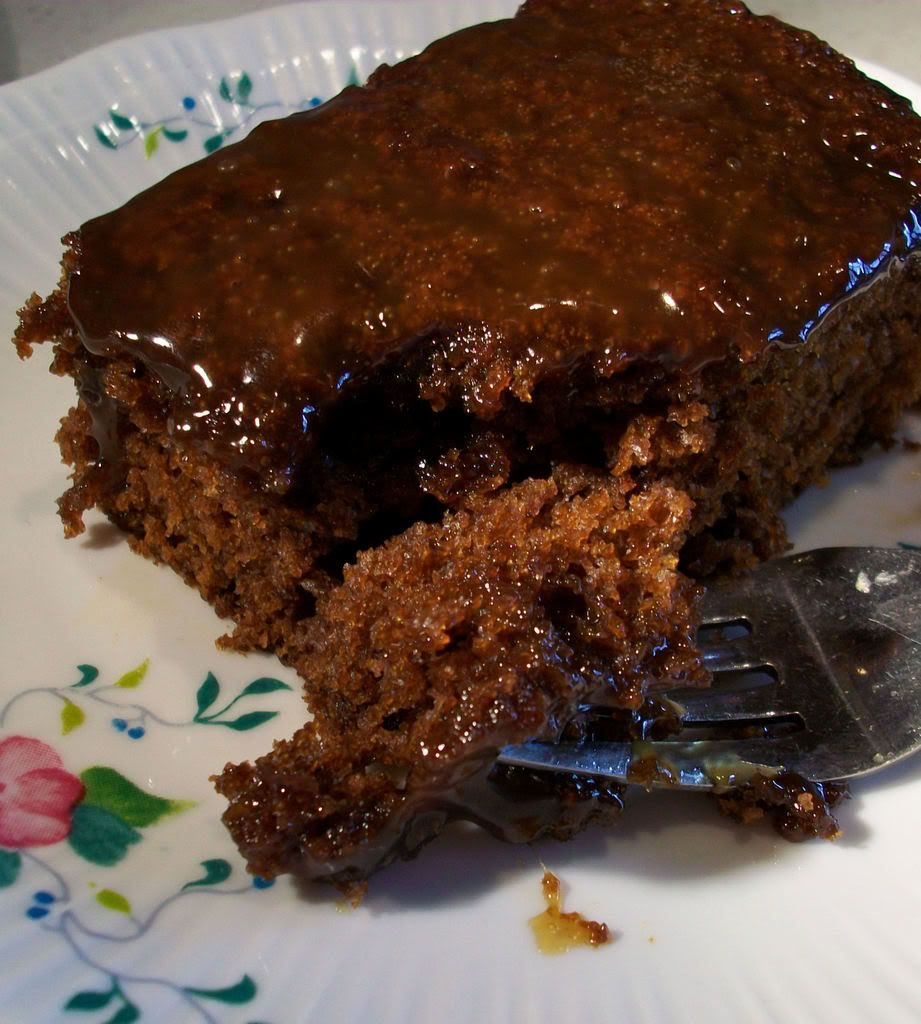
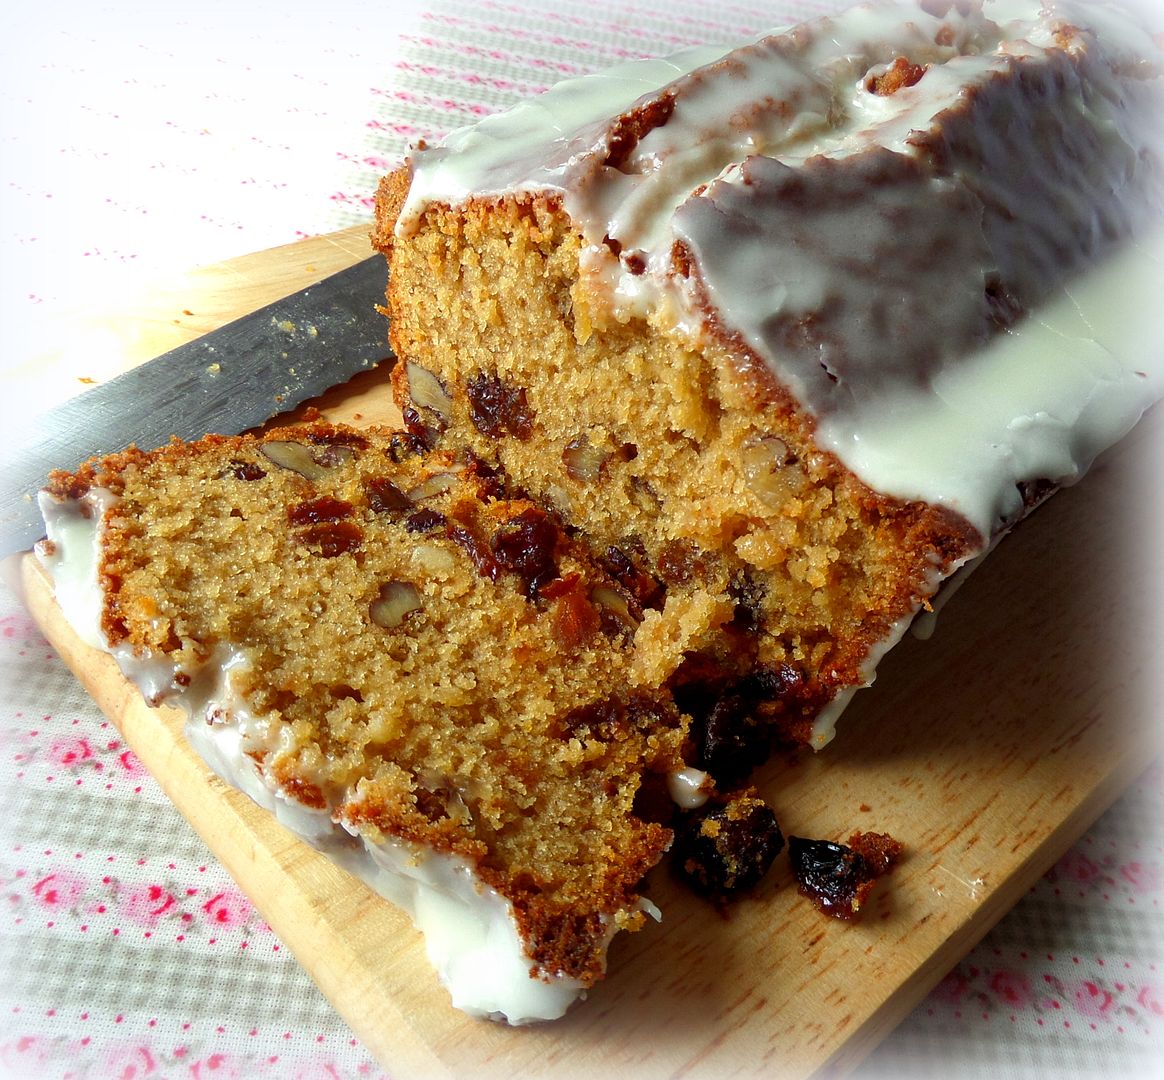
*Sticky Topped Gingerbread*
Makes one 8 inch square cake
Printable Recipe

I am a gingerbread connoisseur. I have tried many recipes through the years and this is the ultimate version that I have come up with. Dark, spicy and moist with a lovely and stickily decadent topping, this version wins on all counts!

1 1/2 cups flour (210)
1 tsp baking soda
1/2 tsp salt
1 tsp ground cinnamon
1/4 tsp ground cloves
2 1/2 tsp ground ginger
2 tsp unsweetened Dutch process cocoa powder
2 large free range eggs, at room temperature
1/2 cup firmly packed soft dark brown sugar (100g)
1/2 cup sour milk (125ml)
(or buttermilk)
1/2 cup dark molasses (125ml)
1/2 cup slightly salted butter, melted and cooled (125g)
For the Topping:
3 TBS butter
1/3 cup firmly packed dark brown sugar (66g)
2 TBS double cream (heavy or whipping)

Pre-heat the oven to 180*C/350*F. Lightly grease and flour an 8 inch square baking dish, tipping out any excess flour. Set aside.

Whisk the flour, soda, salt, cinnamon, cloves, cocoa and ground ginger together in a medium sized bowl. Set aside.

Beat the eggs in a large bowl until foamy. Beat in the brown sugar, beating it until the mixture is smooth and lump free. Beat in the sour milk (or buttermilk), molasses and melted butter. Beat until well blended, scraping down the sides of the bowl as necessary. Fold in the flour mixture, mixing it in only until just blended in and no dry mixture remains. Scrape the batter into the prepared pan. Give the pan a gentle smack down on the counter a couple of times to release any air bubbles and then bang it into the oven and bake for 30 to 40 minutes, until the top springs back when lightly touched and the edges have pulled away a bit from the sides. Transfer to a rack to cook for several minutes while you make the topping.

Pre-heat the grill or broiler of your oven.

Place all the topping ingredients in a small saucepan. Heart over medium heat, stirring constantly until the mixture bubbles and thickens. Remove from the heat.

Take a fork and poke a few holes here and there across the top of your gingerbread. Pour the hot topping mixture evenly over top of the warm gingerbread, allowing it to seep down the sides. Place under the grill and broil until the topping is bubbling, about 40 seconds or so. (watch carefully so it doesn't burn!) Remove from the broiler.

Serve warm with sweetened whipped cream if desired.


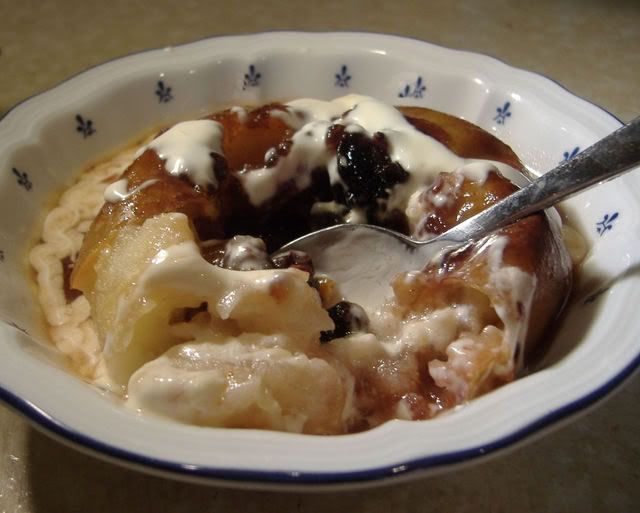
*Baked Apples with Mincemeat and Cream*
Serves 4
Printable Recipe

I love baked apples. They are so easy to do and always taste so good when they are done. For a little something extra special try baking them stuffed with mincemeat. These are truly delicious!


1 medium bottle of sparkling apple cider or apple juice (about 3 1/2 cups)
2 dessert spoons of cranberry jelly
2 TBS unsalted butter
4 large baking apples (I used Blenheim Orange Suffolk)
4 dessert spoons of mincemeat
a small handful of chopped and toasted walnuts
a small handful of dried tart cherries
1 TBS chopped crystalized ginger
250 ml container of double cream for serving (about 1 1/4 cup)

Pre-heat the oven to 200*C/400*F/gas mark 6. Lightly butter a baking dish and set aside.

Put the apple cider, cranberry jelly and butter into a large skillet and bring to a boil. Boil until it is reduced to about 1 1/4 cups. This should take about 12 to 15 minutes.

In the meantime, cut a cone shaped piece from the stem end of each apple, about 2 inches wide at the tip and 1 inch deep. Using a melon baller, remove the core, leaving the apple intact at the bottom. Take a sharp knife and cut a slight slit around the middle of each apple, about halfway up. Try not to cut in too deeply. This will help to prevent the apple from exploding in the oven and help it to keep it's shape.

Mix the mincemeat, walnuts, cherries and ginger together in a bowl. Spoon this mixture into the apples, filling and mounding it up in the centre.

Arrange the apples in the baking dish and then spoon the cider over and around them. Bake for about 45 minutes, until the apples are tender. Serve warm in shallow bowls with a spoonful of cream or two drizzled over each.

Saturday, 30 August 2014

Chocolate Chip Pancakes with a Buttermilk Syrup

 photo SAM_6736_zps60e70d32.jpg

One day recently I found out that our little Spanish girl loves pancakes.  It just slipped out in a conversation as these things do . . .  and so I decided to treat her to a lovely batch of them one morning.   I know . . .  I am spoiling her, but it's just so darned nice to have a young person around.  I truly am enjoying the experience and her! 

  photo SAM_6737_zpsb28ac2b6.jpg

The other day she told me she had gained 2 1/2 pounds since coming here.  I don't like to think that I am entirely to blame.  Maybe these pancakes had a little bit to do with it!  Do ya think?

 photo SAM_6738_zps69d82632.jpg

Light and fluffy . . .  and oh so tender.  Rich with sour cream.    Stogged full of lovely bits of dark chocolate  . . .  and served up with a wonderfully tasty Buttermilk Syrup.

 photo SAM_6735_zps5f674f6b.jpg

Of course you have to have a few pats of butter on them don't you?   Pancakes with sweet butter, melting all over them, gilding that delicious lily . . .  buttermilk syrup dripping down the sides . . .  the fluffy insides studded with little nuggets of soft melted chocolate.

  photo SAM_6744_zps3c69fbd4.jpg

Ahem . . .  umm . . . hmmm . . .  maybe it IS all my fault.   Sorry about that.  Wait til she tastes my Rice Pudding Pancakes . . . 

 photo SAM_6740_zps1fb27ab6.jpg


*Chocolate Chip Pancakes with a Buttermilk Syrup*
Makes 14  medium pancakes   

Light and fluffy and quite moreish.  Is this dessert, or is this breakfast?  You decide!  

245g of plain flour (1 3/4 cup)
3 TBS sugar
1 TBS baking powder
1/2 tsp salt
3 TBS butter, melted and cooled
120 ml of milk (1/2 cup)
60g sour cream (1/2 cup)
2 large free range eggs
1 tsp vanilla
100g of dark chocolate chips

For the syrup:
225ml of buttermilk (1 cup)
225g of butter (1 cup)
400g of sugar ( 2 cup)
2 TBS golden syrup (can use corn syrup)
1 TBS vanilla
1 tsp backing soda

butter or oil for cooking
butter and chocolate chips for sprinkling (optional)  


First make the syrup. You will want to use a large pot as the baking soda makes this syrup double in volume. Put all of the ingredients except for the vanilla and baking soda in a large saucepan.  Bring to the boil, stirring constantly.  Boil for 3 to 5 minutes.  Remove from the heat and whisk in the soda and vanilla.  Set aside and keep warm. 

Measure the dry ingredients for the pancakes into a bowl.   Whisk together well.   Whisk together the eggs, milk, sour cream, melted butter and vanilla.  Pour the wet ingredients into the wet and mix together until all is well moistened and there are no streaks of flour.  It may be a bit lumpy.   Stir in the chocolate chips.   

Heat a large non stick griddle or skillet and butter or oil it lightly.   Drop the pancake batter about 1/4 cup at a time onto the hot griddle.  (once the pan is hot turn the heat down to medium low)  Cook until the tops are just beginning to look dry, and pancakes are golden brown on the bottoms.  Flip over and cook on the other side until they are browned and cooked through.  Keep warm in a slow oven while you cook the rest. 

Serve with some butter for spreading, sprinkle with chocolate chips if using and pass the warm syrup!

Friday, 29 August 2014

Cut and Come Again Cake

 photo SAM_6831_zpse0488935.jpg

How can you not love a cake which is called "Cut and Come Again Cake?"  It's just impossible I tell you . . .  well, it's impossible for me to at any rate.  I am an old fashioned girl and I just adore these old fashioned names for things . . .  so just what is Cut and  Come Again Cake?  Well . . .


  photo SAM_6829_zps6ec158b0.jpg

It's a deliciously moist and fruity loaf cake that begs you to cut a slice  . . .  and then once you've inhaled that slice, cut another one.   Presumably because the first slice was just so delicious that you just have to have another one!

 photo SAM_6832_zpsf1279047.jpg

Works for me  . . . I say . . .  Works for me!  (at the risk of sounding like Fred Elliot ex butcher of Coronation Street!)

 photo SAM_6833_zpsba0c34fa.jpg

If you're not fond of sultana raisins, and currants and mixed dried fruit  . . .  and toasted English walnuts . . .  then this is not the cake for you . . .  I won't lie to you.

 photo SAM_6834_zps59ecb9fa.jpg

It's got plenty of them.   But if you happen to love those things like we do . . .  then you will totally adore this cake!  Seriously!

 photo SAM_6837_zpsa149064f.jpg

This is what a teatime cake is all about.  Moist.  Delicious.   Stogged full of fruit and nuts.   Sliced plain and spread with butter, or garnished as I have done with a tasty orange drizzle icing.  (Quite simply whisk enough fresh orange juice into 200g or 1 cup of sifted icing sugar to make a drizzle you can spoon over the warm cake.)

 photo SAM_6841_zps17c175a5.jpg

Plain or iced.  Buttered or not.   This cake pleases on all levels.  It's a sturdy cake, more like a loaf and tastes better with each day that passes.  You won't want to pass this one by.  I guarantee!  Now just where did I put my knife???  ☺

  photo SAM_6836_zpsab07433d.jpg


*Cut and Come Again Cake*
Makes one large loaf cake

A simple and delicious cake stogged full of dried fruit and toasted walnuts.   This one which you will cut, eat,  and then want to cut again!  

115g of butter, softened (1/2 cup)
200g of sugar (1 cup)
2 large free range eggs, beaten
2 TBS mild molasses (you may use 1 TBS dark treacle and 1 TBS golden syrup)
225ml of hot water
1 rounded tsp of baking powder
150g of raisins (1 cup)
150g of currants (1 cup)
75g of mixed candied fruit (1/2 cup)
60g of toasted walnuts, chopped (1/2 cup)
280g of plain flour (2 cups)
1/2 tsp vanilla extract
a few drops almond extract    

Preheat the oven to 180*C/350*F/ gas mark 4.  Butter large loaf tin really well (9 by 5), line with baking paper and butter the paper.  Set aside.  

Cream together the butter and sugar until light and fluffy.   Beat in the eggs a bit at a time.  Beat in the vanilla, almond and molasses.   Stir in the dried fruit and nuts.   Sift together the flour and baking powder.   Add this to the wet mixture, alternating with the hot water.   Turn the batter into the prepared loaf tin.


Bake in the preheated oven for 60 minutes, or until a toothpick inserted in the centre comes out clean.  Allow to cool in the pan for 5 minutes before lifting carefully out onto a wire rack to finish cooling completely.   Store in a tightly covered container.


Casa Costello
Casa Costello


Thursday, 28 August 2014

Spaghetti with a Marinated Cherry Tomato Sauce

 photo SAM_6817_zps9b697bc9.jpg

One of the nice things about having someone else in the house is that Ariana likes Pasta and now I have the perfect excuse to cook it and not feel guilty about it.   Today I made this simple and yet incredibly tasty pasta dish that  Ariana and I both really enjoyed, and the Toddster dined on leftover meat and potatoes.  Everybody was happy!

 photo SAM_6814_zps7b48abe2.jpg

One of the things I like most about pasta is it's incredible versatility!  You can dine on a simple dish of just buttered pasta with a bit of cheese and be just as happy as you would be with a more complicated dish.   Pasta is the perfect thing to cook when you are tired and starving and you want a tasty meal on the table that doesn't take a lot of effort.

 photo SAM_6815_zps3f757987.jpg

It can be as simple as opening a jar of sauce, heating it and dumping it on the pasta, which trust me . . .  I have done on occasion.   Lacking in inspiration, but still wanting something tasty to eat.  There are some very good pasta sauces out there and there are some really blah ones.   The trick is to experiment and taste a few different ones to find your favourite one and then to stick to that one.

  photo SAM_6816_zps7d5f64bd.jpg

Today I took advantage of all the ripe cherry tomatoes in the garden at this time of year and in the shops, and created a fresh sauce of cherry tomatoes that I quite simply marinated in a mix of vinegars and good olive oil.

 photo SAM_6818_zps477a1cff.jpg

Tossed with the fresh pasta, and heated through, I then topped it with some tasty crispy bread crumbs that added a bit of texture and another layer of flavours.  All in all it was simple and quite delicious.

  photo SAM_6819_zps1367eac8.jpg

You do need to marinate the tomatoes in the dressing for about an hour before you use them, but if you do that and then go off and do something else, you can just cook the pasta when you are ready to serve and your meal will be on the table pronto.

  photo SAM_6824_zpsf3ab0287.jpg

It's delicious, inexpensive and very simple to make.  I reckon even Todd could make it with a little bit of direction!  Who says fine dining needs to be complicated or expensive?  I hope you'll give this a go and that you enjoy it as much as Ariana and I did!

 photo SAM_6823_zps25a84255.jpg

*Spaghetti with a Marinated Cherry Tomato Sauce*
Serves 4

Simple, quick, easy and delicious!  The cripsy crumb topping is fabulous.  

320g of dried spaghetti (12 ounces)
600g of cherry tomatoes (4 cups)
3 TBS basil leaves
6 TBS extra virgin olive oil
2 TBS good red wine vinegar
1 TBS good balsamic vinegar
salt and pepper to taste
extra olive oil to taste
For the crispy crumb topping:
2 slices of good white bread, crusts removed and made into coarse crumbs
2 TBS olive oil
fine sea salt and freshly ground black pepper to taste
a pinch of garlic powder
3 TBS finely grated Parmesan cheese   


 photo SAM_6826_zpsf42b152c.jpg

Cut the cherry tomatoes in half and squeeze over a bowl to remove the juice and the seeds.  Discard the juice and seeds.   Tear the basil and add to the tomatoes.   Pour over the olive oil, and both vinegars and a healthy seasoning of salt and pepper.  Mix well to combine, pressing the tomatoes lightly down into the marinade.  Allow to stand for minimum one hour at room temperature.  Don't refrigerate.  

 photo SAM_6825_zpsab1752e4.jpg  


Cook the spaghetti according to the package directions in lightly salted boiling water until al dente.   Drain and return to the pan.  Add the tomatoes over a high heat, stirring to combine and heat through.   Drizzle with a bit more olive oil and serve.
Make the crispy crumb topping as the pasta is cooking. Heat the olive oil in a large skillet.   Add the bread crumbs, along with some seasoning and the garlic powder.  Cook, stirring and shaking over medium heat until the crumbs brown.  Remove from the heat and quickly stir in the Parmesan cheese, making sure it is well combined.   Set aside.

Pass the crispy crumb topping at the table.

Wednesday, 27 August 2014

Cheese and Broccoli Stuffed Jacket Potatoes

 photo SAM_6790_zps8a25ce56.jpg

I have to admit that broccoli is not one of the Toddster's favourite vegetables.  I love the stuff, but he's not so keen.   It's one of those vegetables however that is really very good for you and so I am always looking for ways to incorporate it into our diets, that are appealing to him at least in some small way.


 photo SAM_6791_zpsf8cf47a9.jpg

He is awfully fond of potatoes however, as am I and so today I decided that I would stuff some baked potatoes with some broccoli and cheese.   That way he might not even notice . . . um . . . do ya think?

  photo SAM_6792_zps35cb1557.jpg

No chance!  Of course he noticed!  How could you not.  Just look at how pretty they were!  He didn't seem to mind however as he had two helpings of them and didn't blink an eye at the broccoli stogged into all of that fluffy potato deliciousness.

 photo SAM_6797_zps5f65491f.jpg

They were actually really REALLY tasty.  When my kids were growing up they loved it when I made them broccoli with cheese sauce, so this combination seemed quite natural to me.

 photo SAM_6799_zpsf7be78d3.jpg

I used fresh broccoli, which I cooked crispy tender and then drained really well so as not to make the potato mushy in any way . . .  and then I added lots of strong cheddar to the mash along with a healthy amount of salt and pepper.   You could of course add some grated onion, but I never thought to do it at the time.  It would be quite good though.  You could also use a stilton instead of a cheddar and it would be gorgeous!

  photo SAM_6800_zps50d72265.jpg

I did a final sprinkling of cheddar on top prior to baking so that it could get all gooey and melty.   They went down a real treat actually.   I noticed that one of the leftover ones disappeared during the night, which is always a good sign!  I think I have two legged mice!

 photo SAM_6796_zpsd3e20530.jpg

*Cheese and Broccoli Stuffed Potatoes*
Makes 4 stuffed potatoes

Lots of tender crisp broccoli and gooey cheese, all stuffed into a delicious baked Potato.  Scrumptious! 

2 large baking potatoes
1 small broccoli crown
125ml of milk (1/2 cup), heated until warm with a knob of butter added
fine sea salt and freshly ground black pepper to taste
310g of strong cheddar cheese,divided (1 1/4 cups)

Preheat the oven to 200*C/400*F/ gas mark 6.  Prick your potatoes with a fork and place them into the heated oven, directly onto the oven racks.  Bake for about 1 1/2 hours until tender.  Remove from the oven and set aside to cool until you can handle them. 

Bring a pot of lightly salted water to the boil.  Separate the broccoli into florets and  cook it in the boiling water until tender crisp, about 3 to 4 minutes.  Drain well and chop. 

Cut the baked potatoes in half lengthwise.  Scoop out any pulp, leaving about 1/4 inch thick shell.   Mash the insides together with the milk/butter mixture and some seasoning to taste.  Stir in 250g of the cheddar cheese (1 cup) and the chopped broccoli.  Stuff this mixture into the baked potato halves.   Place them on an un-greased baking sheet.  Scatter the remaining cheese over top.


Bake in a 180*C/350*F gas mark 4 oven for 20 minutes until heated through and the cheese on top has melted and is bubbling.   Serve hot.

Back to School with Farmers Choice . . . quick and easy lunches and suppers

 photo 21aae5295f5bc1613a41e911dcfb6420_zpsff2d2571.jpg

In another few days, if they haven't already, our children will be starting back to school.  What an exciting time.  I always loved September and going back to School when I was a child.  It was so wonderful to see friends again that I had not seen all summer!  I loved the smell of the new books and pencils, finding out who my teachers would be and I just adored the practice of covering my school books with brown paper to keep them clean and protected!

When my own kids started school, I loved all of the mum things that went along with the school year.  Things like making them delicious bagged lunches, baking cookies for after school and having a tasty supper ready and waiting for them when they got home at the end of the day.

 As you know I am a guest writer on  Farmer’s Choice  the online butchers, green grocers and deli that deliver completely free range, British meats and produce to homes across the UK.    This month I am shaing several "Back-To-School" recipes with their readers!  

 photo macaronifritta_zps213f53fe.jpg  

First up we have a delicious Macaroni and Cheese Frittata, which is perfect for brown bagging it!  Simply cut into wedges to serve it is perfect when served at room temperature, which makes it ideal for bringing along to school.   A slice of crusty bread and some fruit on the side and you have a deliciously different portable lunch!  

  photo CheesyToppedBurgers_zps1e72ebce.jpg  

The kids will be more than enthused to come home to these deliciously tasty Easy Cheese Topped Burgers for supper after a hard day's work of pushing pencils!  Delicious beef burgers topped with a fabulous bacon, cheese and spring onion topping and then baked until the cheese is all gooey.  Serve open faces with some salad and chips on the side for a real kid pleasing meal!    


Not only will you find these and other recipes on the Farmer's Choice site, but you will also be able to purchase a quantity of the ingredients necessary to  prepare all of the recipes you will find there.   All the convenience of online grocery shopping with the added pleasure of supporting your local farmers.  Quality ingredients at a good price, British sourced and home grown.  You can't get much better than that!

Tuesday, 26 August 2014

Spicy Blueberry Sauce

 photo SAM_6778_zpsfa8cbec8.jpg

I love, love blueberries and we are right in the midst of our blueberry season here in the UK at the moment.  I know my sister has been picking the juicy little blue jewels for a few weeks now in Canada.  I can never get enough of them during the season and I always freeze tons to use in the Winter months.  Today I decided to make a delicious sauce with them!

  photo SAM_6780_zpsa6e781a4.jpg

You can never have too many sauce recipes in your repertoire I don't think!  This one has incredible flavours and it really pretty to look at.  I used fresh ginger root, ketchup, chopped shallots, English mustard, honey for sweetness, some chili flakes for a bit of heat and of course lots of those gorgeous blue berries.

 photo SAM_6781_zps0d9bf85b.jpg

Chili flakes???  You say, chili flakes?   Yes!  This is a savoury sauce meant to be served with grilled meats and fish . . . not with pancakes, although you certainly could if you really wanted to.   But this is a sauce that just begs to be served with grilled chicken and pork . . .  turkey . . . salmon.   Salmon is incredible with this.  Trust me.

 photo SAM_6783_zps9736dced.jpg

Today I served it with some grilled chicken and it was fabulous together.   Sweet with some heat and a little bit of spiciness from the chili flakes and ginger.  You can adjust the heat however you wish by adjusting the amount of chili flakes you add.  I do hope you will give it a try and that you will love it as much as we do!

 photo SAM_6782_zps0a136f10.jpg

*Spicy Blueberry Sauce*
Makes about 1 1/2 cups  (335g)

You can use this as a barbeque sauce or just as an accompaniment to grilled meats.  It goes very well with chicken, pork and salmon.


300g of fresh or frozen blueberries (about 2 1/2 cups)
75ml of liquid honey (1/3 cup)
60ml of tomato ketchup
pinch red chili flakes
1 shallot, peeled and minced
2 tsp grated fresh gingerroot
1 tsp fresh lime juice
1/4 tsp English mustard
salt and pepper


Combine all of the ingredients in a saucepan.   Bring to the boil over medium heat, then reduce to a slow simmer and cook until thickened, about 35 to 40 minutes.   Taste and season to taste with some salt and pepper if desired.  Set aside to cool.  Store, covered in the refrigerator for up to 1 week.

Note - you can puree this with a blender if you wish, or keep it chunky.   It's your choice.  I, myself, like it chunky.

Monday, 25 August 2014

Grilled Cheese Encounters of a delicious kind . . .


I have to admit, that of all the sandwiches out there, and all the sandwiches I have eaten in my lifetime, my favourite has to be the good old fashioned Cheese Toastie, or Grilled Cheese as it is also called.  Over here they call sandwiches sarnies in some places.  Or Baps . . . 

Bap. Sarnie.  Toastie.   Sandwich.  Truth be told no matter what they are called this carb loving heart of mine just adores them whatever they be called, and the grilled cheese is my most favourite-est indulgence of all!


Today I was really craving salad and oddly enough grilled cheese sandwiches.  I got to thinking and we all know what happens then . . . my creative mojo goes into overdrive and you just never know what I am going to end up with.  Most of the times it's something quite, quite delicious . . . others maybe not so delicious, but always interesting largely edible.  I'm happy to say that today I ended up with something quite, QUITE delish!


Think about it . . . crisp salad greens scattered across a nicely chilled plate . . . and topped with some of your other favourite salad ingredients . . . crisp and peppery radishes . . . crunchy cucumber . . . snappy and sweet red onions . . .


Now top that with a fantastically devilishly moreish fresh Lemon Thyme and Honey Mustard Vinaigrette dressing . . . not a lot . . . just a drizzle . . . coz there's more to come.  Oh sure you could use regular thyme if that's all you have . . . but the lemon thyme just adds just a teensy bit more depth to the flavours . . .


Finally . . . top all that goodness with a crisp freshly toasted Cheese Sarnie, deliberately sliced on the diagonal . . . some of the cheese oozing out . . . just laid here and there on the top . . . now a final drizzle of that scrummy dressing . . .


Presto!  A deliciously easy, scrummily edible, moreishly wanton Grilled Cheese Sarnie Salad.
And you thought salads were mostly boring???  Aha!!  Not in this house!  This just could not get any better!


*Grilled Cheese Sarnie Salad*
Serves 4
Printable Recipe

Don't knock it til you try it.  This salad rocks!  Fresh salad fixings, topped with toasted cheese sarnie croutons and drizzled with a lemon thyme honey mustard vinaigrette!

4 small heads of baby gem lettuce, washed trimmed and leaves separated
(tear any larger leaves into bite sized pieces)
4 large radishes, washed trimmed and slivered
1/2 small red onion, peeled and slivered
1/4 of a medium sized English cucumber, washed, unpeeled, cut in half lengthwise and
then sliced into half moons
8 slices of fresh bread
4 ounces of good strong cheddar cheese, grated (a heaped cup)
softened butter
For the dressing:
4 1/2 TBS extra virgin olive oil
2 TBS apple cider vinegar
1 TBS liquid honey
1 TBS Dijon mustard or to taste (grainy or smooth, it's up to you)
a few springs of lemon thyme (you may use ordinary fresh thyme if that's all you have)
fine sea salt and freshly ground black pepper to taste
A few springs of thyme for a garnish (optional)


First make the dressing.  Strip the leaves from the thyme sprigs and whisk half of them together the olive oil, vinegar, honey and mustard until thoroughly amalgamated.  (Reserve the remaining thyme leaves for the sarnies.)Season to taste with salt and pepper and set aside.

Wash and dry the lettuce.  Scatter the leaves onto four plates, tearing any larger leaves into bite sized pieces.  Scatter the radish, onion and cucumber over top.

Spread the softened butter onto one side of each slice of bread.  Heat a large nonstick skillet over medium heat.  Toss together the cheese and remaining thyme leaves.  Place 4 of the bread slices, butter side down into the heated pan.  Top each with an equal amount of the cheese/thyme mixture.  Top the cheese with the remaining slices of bread, butter sides up.  Toast over medium heat, until golden brown on the outsides and the cheese is melted.  Cut each sandwich into 3 or 4 pieces diagonally. 

Give the dressing a quick whisk and then drizzle some of the dressing over each salad.  Top each with 1 cut sandwich, and then drizzle the sandwiches with some of the dressing.  Garnish each salad with a small sprig of thyme if desired.  Serve immediately!

Twitter Delicious Facebook Digg Stumbleupon Favorites More